Hire cart - {{ cart.TotalQuantity }} item{{ (cart.TotalQuantity != 1 ? 's' : '') }}
Cart is empty. Add gear you want to your hire cart and review them here.
There are no branches matching your search.
Login to view or create favourites and other benefits.
Register to start speeding up your hire process and keep track of your hire history.
Nice to see you again. We've made a few changes since you were last here.
Pick a colour
Favourites ({{ userFavourites.length }})
Add your frequently hired items to easily view and hire them again.
Keep your contact information with us up to date so you get the latest and best rates with us.
Hire cart - {{ cart.TotalQuantity }} item{{ (cart.TotalQuantity != 1 ? 's' : '') }}
Cart is empty. Add gear you want to your hire cart and review them here.
With this easy step-by-step guide, you will learn how to grind and polish concrete. We’ll be taking you through each step on your way to achieving a beautiful, glistening polished concrete floor. You may not want to polish your concrete floor and opt for another flooring cover on top, but this guide should still be useful in showing you how to use a concrete grinder to level and smooth your floors before laying other floor coverings. We’ll also cover other benefits of having a polished concrete floor and all of the gear and materials you may need to do a good job. Let’s get started!
Low Stock Call First
High Demand Product: We suggest making a booking for this item in advance.
Low Stock Call First
High Demand Product: We suggest making a booking for this item in advance.
Low Stock Call First
High Demand Product: We suggest making a booking for this item in advance.
Low Stock Call First
High Demand Product: We suggest making a booking for this item in advance.
Hirepool has a wide range or concrete grinders, electric floor polishers and vacuum cleaners to choose from. If you need advice on picking the right piece of equipment for your particular job, reach out to your local Hirepool branch. The Hirepool team are always happy to help point you in the right direction. Otherwise, you can browse all of our equipment online with confidence, knowing that all of our gear is well maintained and good to go.
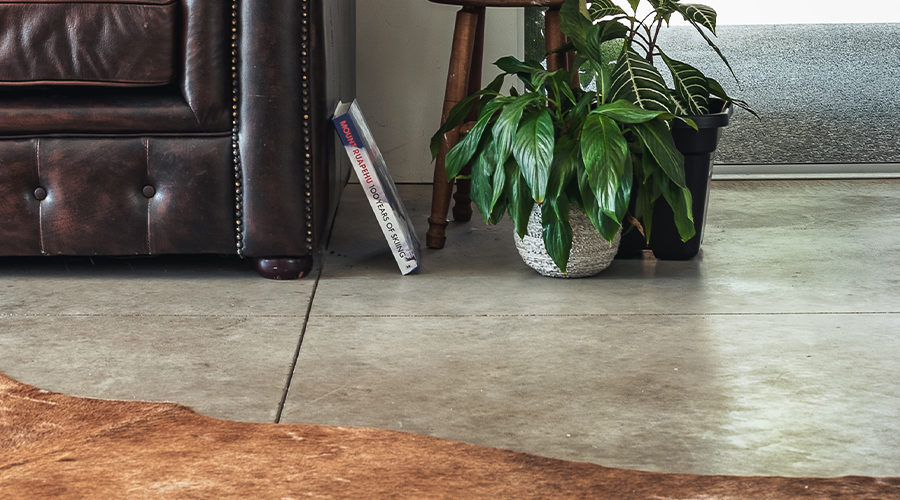
Continuing to increase in popularity amongst Kiwis, concrete flooring is one of the hottest flooring options available today as burnished concrete floors are being used more and more. There are many benefits to selecting polished concrete flooring for your home, such as the superior temperature control, durability and modern appearance they provide.
Concrete floors have a high thermal mass, meaning they absorb a great deal of heat via sunlight exposure, which provides a significant amount of free heating to any home with this flooring type. Concrete floors are also a great option for Kiwis that struggle with allergies day-to-day, as they are very easy to clean and don’t trap large quantities of dust and dirt like the more common carpet flooring option does. Being a fire, damp and mould resistant flooring option further increases concrete floorings stock.
Polished concrete floors are a great option for high-traffic areas of your home, as well as the kitchen, laundry and bathroom. If you’re looking to get concrete for your own home, you’ll save on the polished concrete cost offered by the professionals when you do it yourself. Not to mention the feeling of satisfaction you will get from walking around your beautiful home knowing you are responsible for those gleaming stylish floors!
To ensure you have access to the whole floor, clear the room entirely. To make it easier to access the room you’re working in, remove any doors leading in or out of the room. This will make life easier when you have to bring different tools in and out of your work area.
Next, grab your bristled brush and fill a bucket with warm water and cleaner and clean your concrete floor to remove any stains. Once clean, you can inspect the floor for any cracks or protruding pieces of metal. These will need to be repaired or removed before moving on to sanding.
Before starting on any work, be sure you are wearing all of the appropriate safety gear (ear, eye and foot protection, protective clothing and breathing filter).
Before you start grinding your concrete floor, be sure to adjust the handle settings on the floor grinder to tooling mode. Then, select and install the correct grinding disk. In most cases, selecting the right disc for your sander and flooring will yield the desired result.
When grinding concrete floors to a high spec finish, you should follow the same principle as sanding a wooden floor. You should begin with a more aggressive disc, and with each grind, swap for a less aggressive disc than the previous to attain the desired finer result needed for polishing.
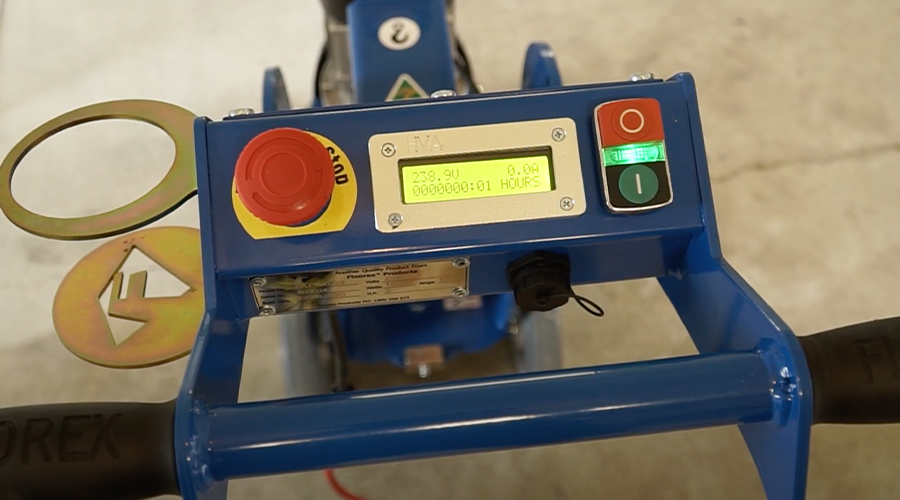
Next, you will need to attach the vacuum to the grinder by attaching the vacuum hose to the dust collector port on the grinder. This will stop the debris and dust caused by the grinder from spreading throughout your work area and also the rest of your home.
Once you’ve moved the grinder handle into operational position, you can gently apply pressure to the grinder to lift the discs off of the floor before switching the grinder on.
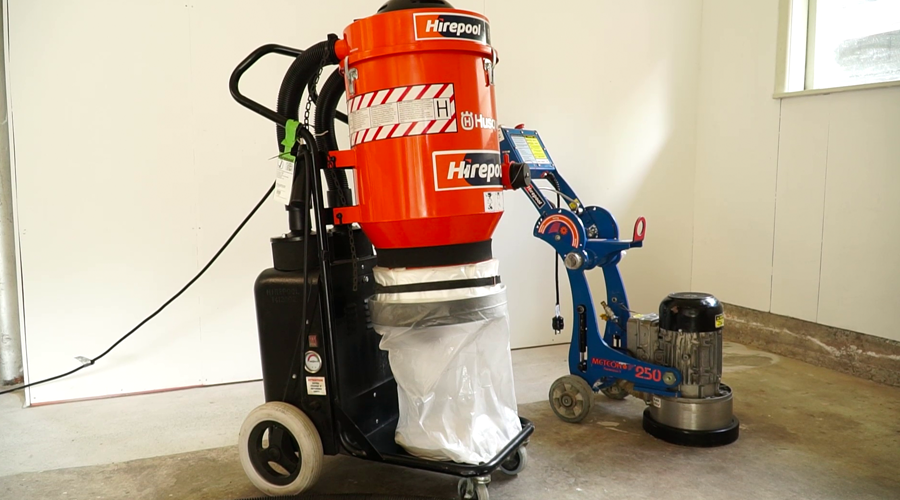
Starting near the corner of the room, apply a bit of downward pressure on the grinder, working methodically across your concrete floor. When you have made one complete pass, you can swap the current grinder disc for a higher grit disc and repeat the same process until the floor is completely level and even.
If the area of concrete floor you’re working on is a rectangle or square space, make passes of the floor working perpendicular to your previous pass. This will help to ensure you achieve an even finish over the whole floor. Be sure to regularly check and empty the vacuum to avoid it overflowing and leaking into the air.
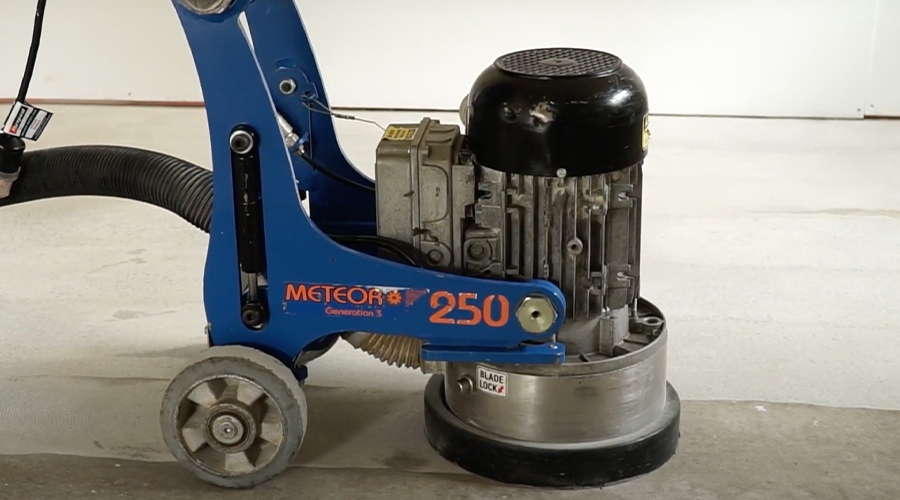
In between passes with the floor grinder, use the densifier on the floor. This will help seal the pores of the concrete and will also give the floor a smoother finish. If you have planned to tile, paint or coat your concrete floor, the steps that you’ve taken up until this point should have sufficiently levelled and smoothed your floor for you to carry on to your own next steps. In some cases, concrete floors can be sealed to give a smooth finish at this stage of the process but will not achieve a high mirror shine that will come once you have polished it.
Continue with the grinding process until you have reached a smooth and poreless finish. Be sure to use finer grit pads with each pass until you’ve reached the desired finish.
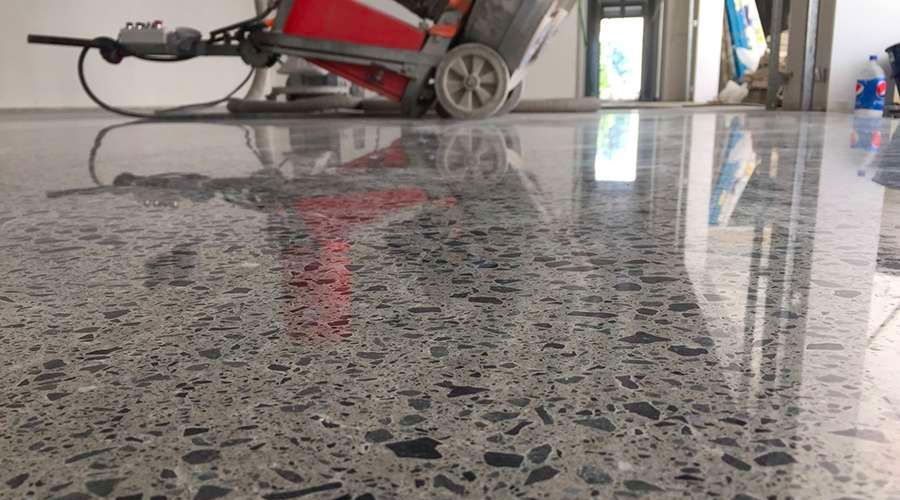
Before you can polish your floor, you will need to vacuum and then clean it to ensure any grit or dust has been removed. This will interfere with your floor having a flawless finish if left behind. It’s important to take your time with this step to ensure you set yourself up for a quality finish.

Once cleaned, you can apply a polish or a sealer to your floor. This will ensure a glossy finish to your floor once you have given it a good polish. It will also help to increase the durability of the floor. Ensure you follow the instructions on the product and be sure to follow the required drying times that are suggested.
Time to grab your electric floor polisher. Lay it down on the floor and fit the brush head onto the polisher.
Standing the polisher upright, plug it into a power source and be sure to check that the extension lead you are using will allow you to reach the entirety of your floor space. Then, while making sure you always have a firm grip and are in control of the polisher, lower it and switch the tool on.
Starting at the back of the room, begin working methodically towards the centre of the room, polishing and buffing your concrete floor until the desired shine is reached.
Once you have polished the whole floor, you can apply the final coat of sealer to ensure your concrete floor is durable and has a high gloss mirror finish. And there you have it. That is how you polish your concrete floor.
When you’re ready to give concrete grinding and polishing a go at home, come into your local Hirepool branch and speak to one of our friendly local experts. They will sort you out with high-quality, dependable, heavy duty tools for the job, which will make your life much easier when it comes time to crack on with your concrete floors. Trust us, your hand sanding tools won't cut it for this task! If you don’t need to grind your floors first, head down to part two of this guide for info on polishing.
You can book tools easily from your local Hirepool branch, or online using the handy online booking tool. For more advice to do with laying and maintaining your floor, read our handy guides, including:
All of these helpful guides and bits of inspiration are all sitting in our flooring and tiling hub for your convenience.