Hire cart - {{ cart.TotalQuantity }} item{{ (cart.TotalQuantity != 1 ? 's' : '') }}
Cart is empty. Add gear you want to your hire cart and review them here.
There are no branches matching your search.
Login to view or create favourites and other benefits.
Register to start speeding up your hire process and keep track of your hire history.
Nice to see you again. We've made a few changes since you were last here.
Pick a colour
Favourites ({{ userFavourites.length }})
Add your frequently hired items to easily view and hire them again.
Keep your contact information with us up to date so you get the latest and best rates with us.
Hire cart - {{ cart.TotalQuantity }} item{{ (cart.TotalQuantity != 1 ? 's' : '') }}
Cart is empty. Add gear you want to your hire cart and review them here.
Similar to many DIY projects around the home, many don’t realise that jobs like this can be accomplished without bringing in professionals. You may not know how to lay lino, but once you do, you’ll never have to pay someone to do it ever again.
In this blog post, we’re going to break down how to lay vinyl flooring, lino, or any type of waterproof, soft synthetic coating. We’ll start with the equipment and protective gear that you’ll need, then move on to preparing the floor and sanding. After that, we’ll go step by step over the best way to lay the flooring material, seal it and cut it to size.
Low Stock Call First
High Demand Product: We suggest making a booking for this item in advance.
Low Stock Call First
High Demand Product: We suggest making a booking for this item in advance.
Low Stock Call First
High Demand Product: We suggest making a booking for this item in advance.
Low Stock Call First
High Demand Product: We suggest making a booking for this item in advance.
Lino or Flooring Vinyl
Straight edge metal ruler
Craft Knife
Sharp Scissors
Measuring Tape
Bolster Chisel
Flooring Adhesive
There are several key pieces of equipment and protective gear that you’re going to need for this job. Some are a must, whereas others are optional. Using the right equipment is essential to getting the job done properly, and hiring yours has several benefits. Hire equipment is always top of the line, in great condition and well maintained. Plus, you don’t have to worry about storing it all after your job is completed. Contact Hirepool to talk with one of our staff about which gear is right for your project.
After laying lino on your floorboards, a lino roller will help you put that final finishing polish on the job before it’s completed. The roller is an unpowered, heavy weighted push-along tool that compresses the lino onto the floor surface after it’s laid.
A belt sander or floor sanders are great tools to have on hand for the preparation stage of the job, especially if you’ve just removed old lino from hardwood flooring. If you are removing cement based adhesive left over from removing tiles, it’s recommended to use a concrete grinder to prepare the surface you’re working with. The sanders or grinders will help in getting rid of any residual grit or adhesive that’s still stuck to the floor and create a smooth and even surface to lay your lino on to.
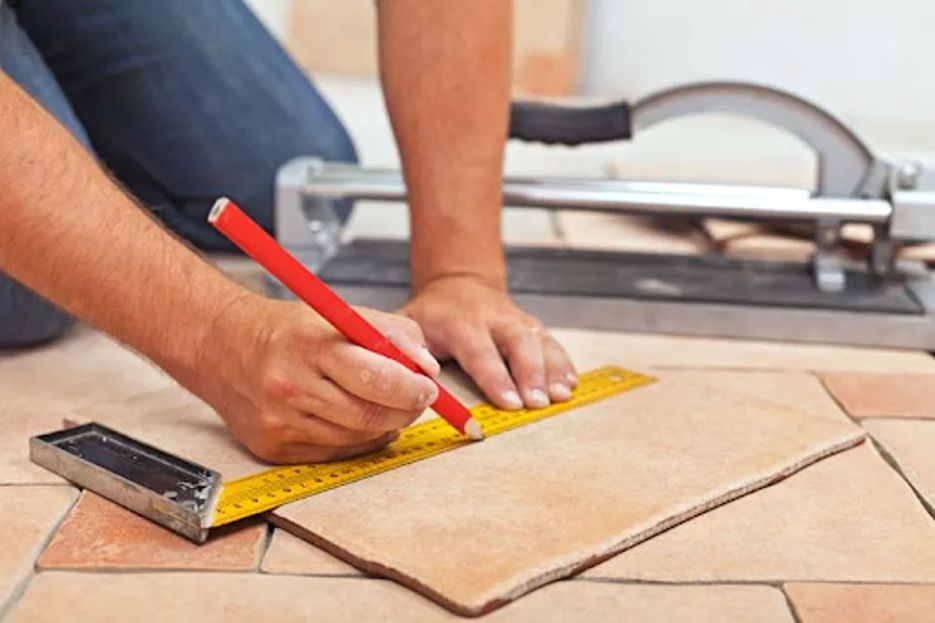
When putting down lino, it’s important to get your measurements exact and cut your materials accordingly. Ideally, you’ll need a straight edge metal ruler, craft knife, sharp scissors, measuring tape and a bolster chisel to get the job done right.
Flooring adhesive will stick your material to the flooring surface after you lay it down. The type of adhesive you need will change from job to job - sometimes all you’ll need is some adhesive tape (e.g. for smaller bathrooms and kitchens) but others you’ll need industrial lino glue. Consult a staff member at your local hardware store if you’re not sure.
A walk-behind floor stripper is a power tool used for medium to large lino jobs. It is designed to help you remove any old lino, vinyl or tiles from the floor you are working with.
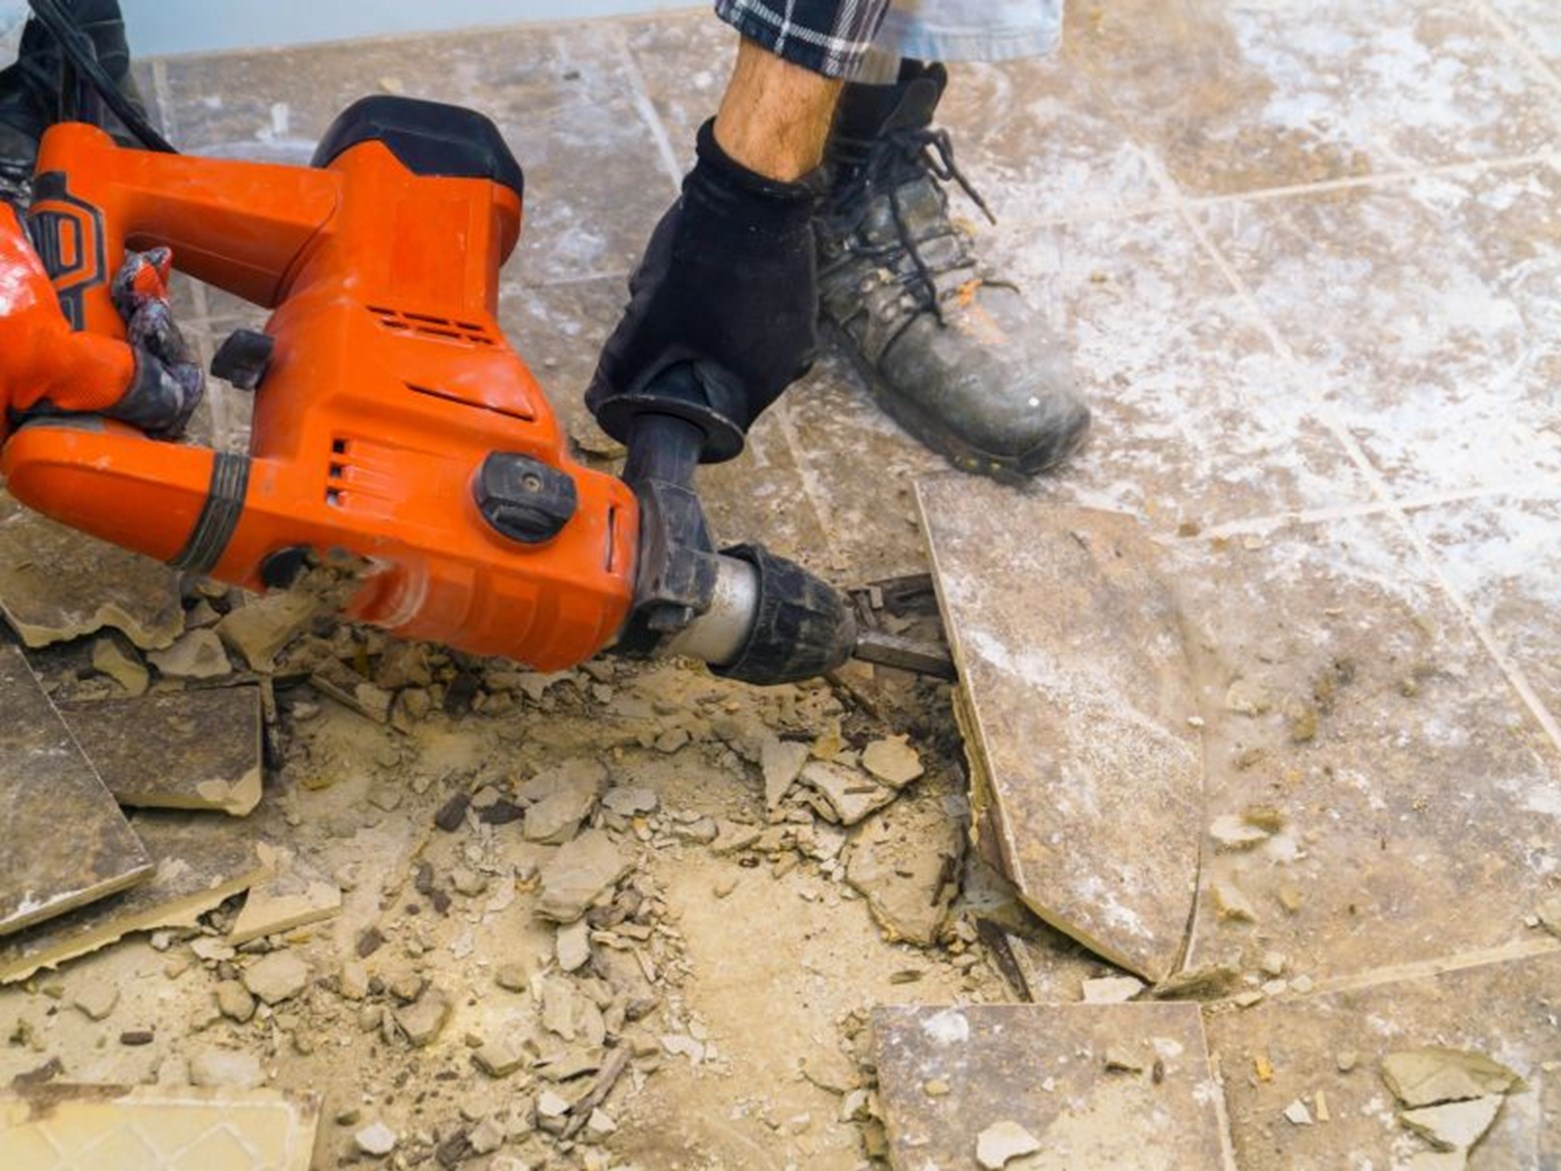
A tile breaker tool is ideal for removing tiles from the floor surface that you want to re-do. Make sure you have the right blade for the job. See our blog post on removing floor tiles for a detailed tutorial on how to do it properly.
This tool is perfect for removing residue from older floor coatings in larger areas - be it tiles, lino, vinyl etc.
The following protective gear is necessary when laying down new lino or vinyl:
We hope you’ve found our article on how to lay lino useful and that you can apply it to your next vinyl job!. We post DIY advice on our blog frequently, so be sure to check back for the latest tips and tricks to pull off excellent jobs around your home.
At Hirepool, we have a variety of sanders, flooring strippers and a lino roller for hire to help you achieve a professional vinyl floor in your home. You can book one online or get in touch with your local branch to talk about selecting the right gear for your reno project!
Our team is always happy to help you select the right gear for your DIY job. Call us on 0800 15 15 15 to have a chat about how we can take your DIY game to the next level or order gear online now.
Make sure any removable rugs, furniture and other items are well out of the way before you start to avoid damaging them. For ease, you may find it helpful to remove doors from the hinges to allow for more space as you wrangle your lino.
Lift any existing tiles, lino or other floorings with a floor stripper, or remove tiles from the floor space using a breaker tool with attachments. For more advice on this, check out our guide on removing floor tiles.
Check the flooring does not contain asbestos. If you do not know how to check you can learn here, or consult an expert and follow guidelines/seek assistance if dangerous material is found.
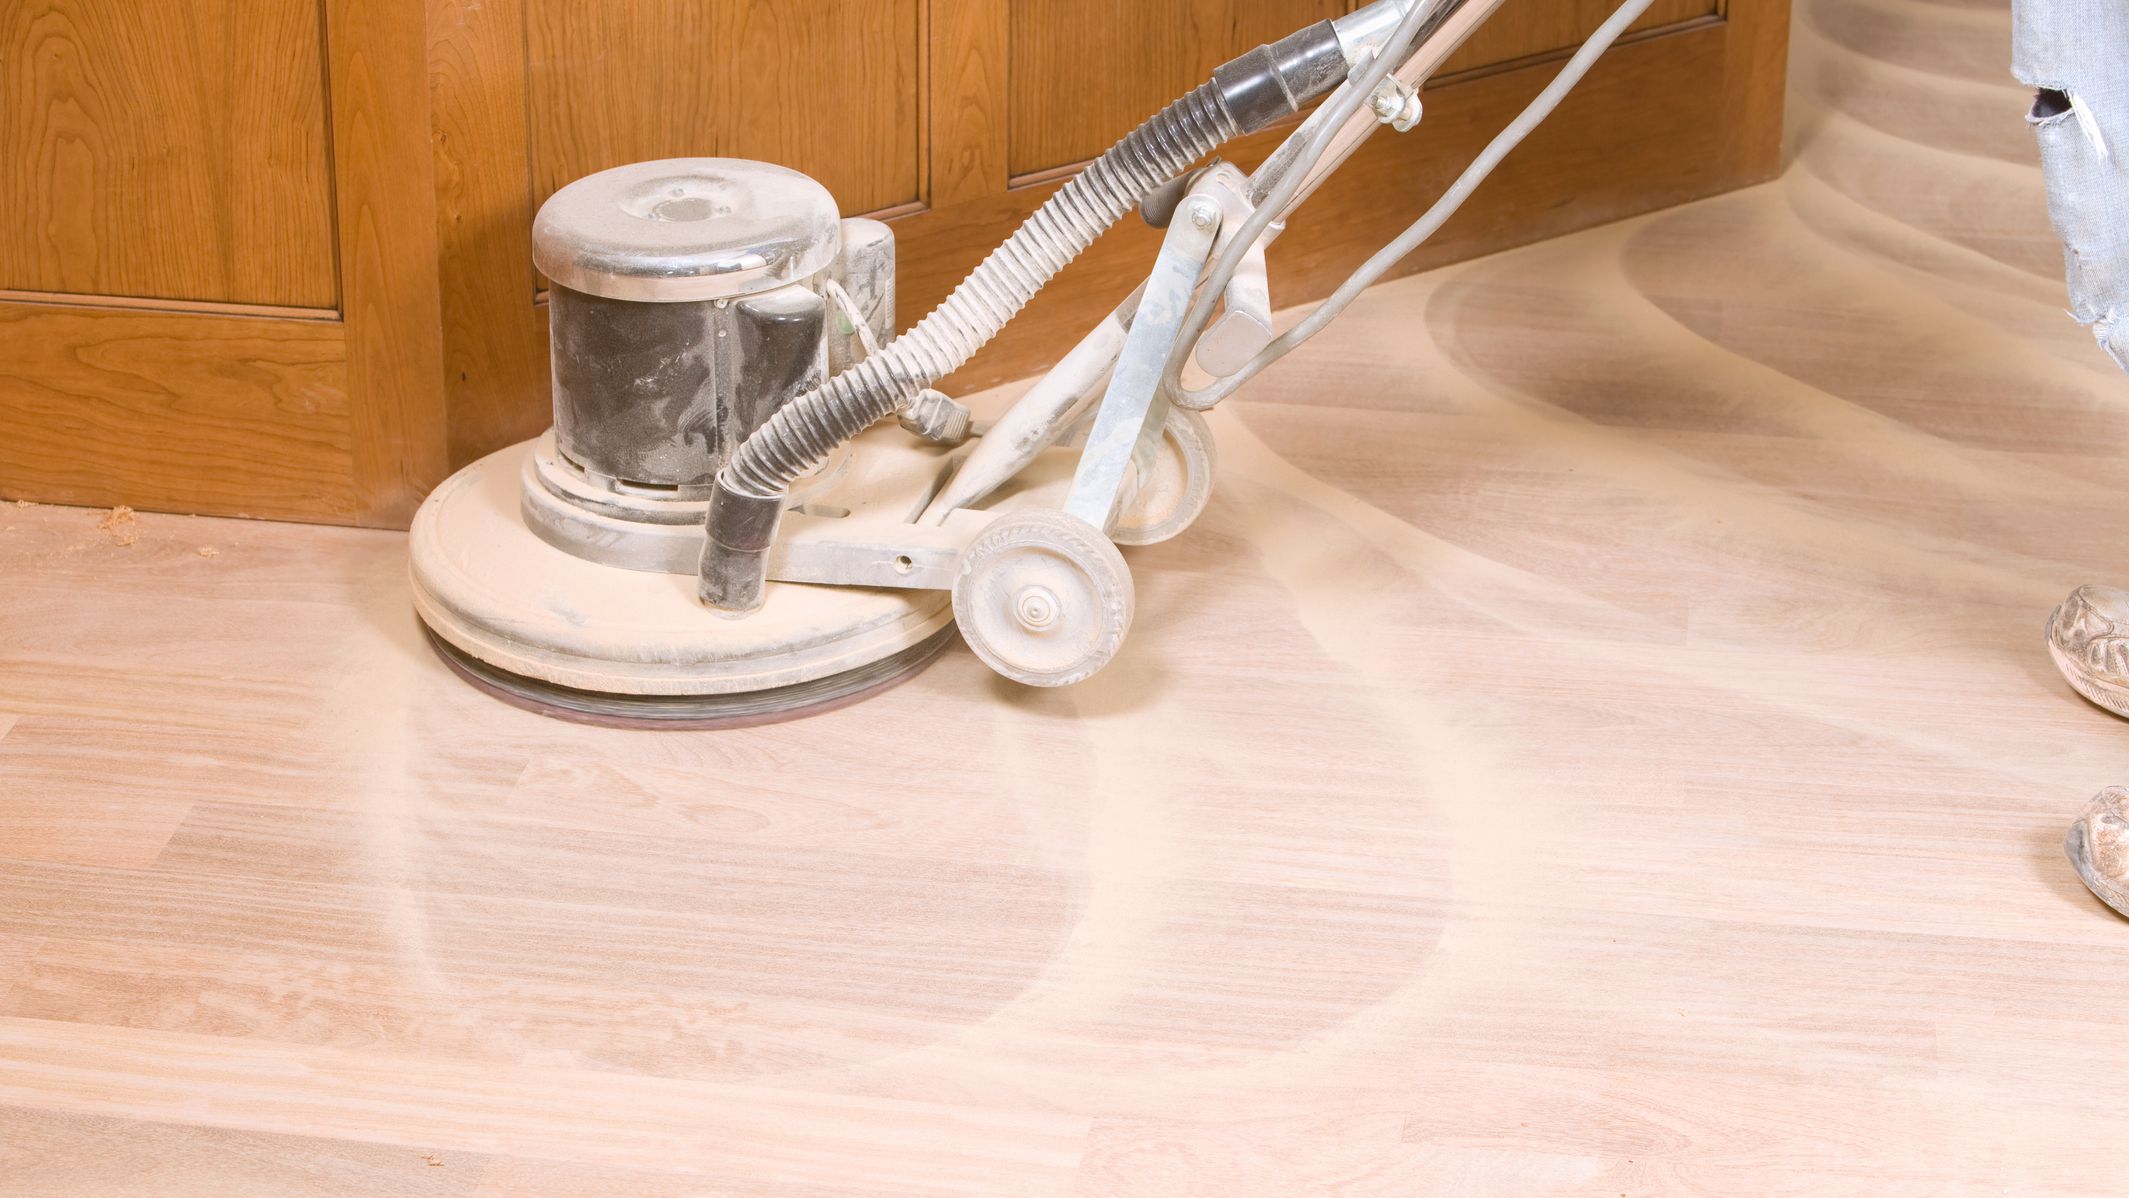
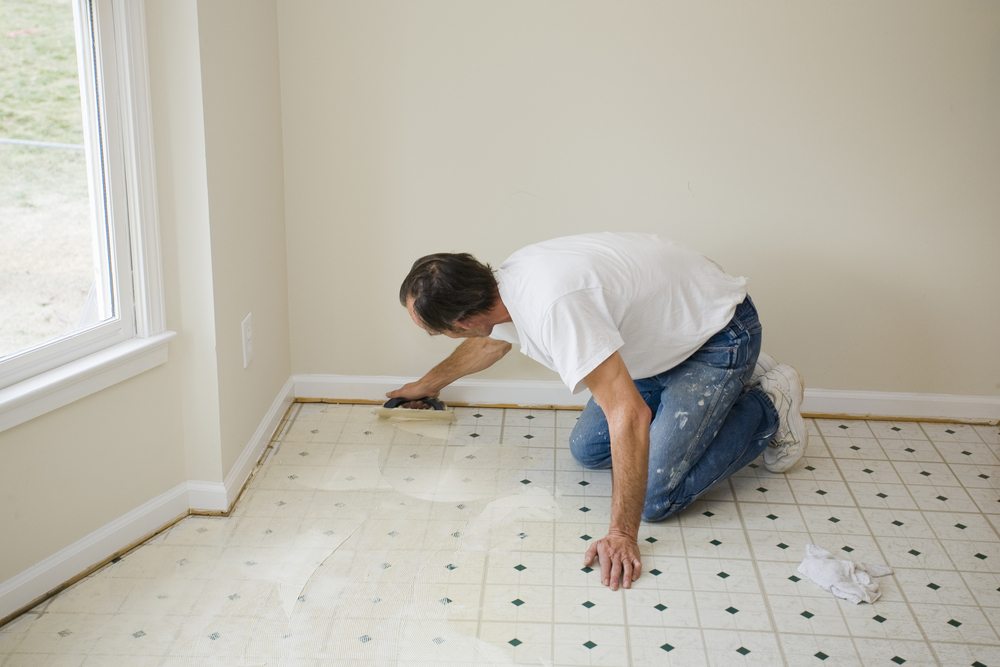
Scrape off old glue or polish and repair any damaged boards or loose pieces of the floor. Use a floor scrubber or floor sander to do this, or if working in smaller areas of your home, use an orbital or belt floor sander to remove excess adhesive to smooth the surface. Consider using a floor wax remover if needed.
If the flooring has dips or is otherwise uneven, it may require a plywood underlayment or ‘subfloor’.
For small areas like bathrooms or laundries where the larger floor sander cannot fit, you can use a belt sander. Always start with coarse sandpaper and work to a finer grit for a smoother finish.
Determine how much vinyl flooring and adhesive you will need for your project. Bring vinyl into the house at least 4 hours before you plan to lay it so that it is room temperature and more pliable. Cold vinyl can be more brittle and harder to lay.
It is easy to mis-measure your material when laying lino, so take extra care and always measure twice and cut once! Cut the flooring to fit by measuring the room and cutting it 15cm wider than the floor area on all sides. If you plan on going up the wall slightly, ensure to leave at least 30cm extra.
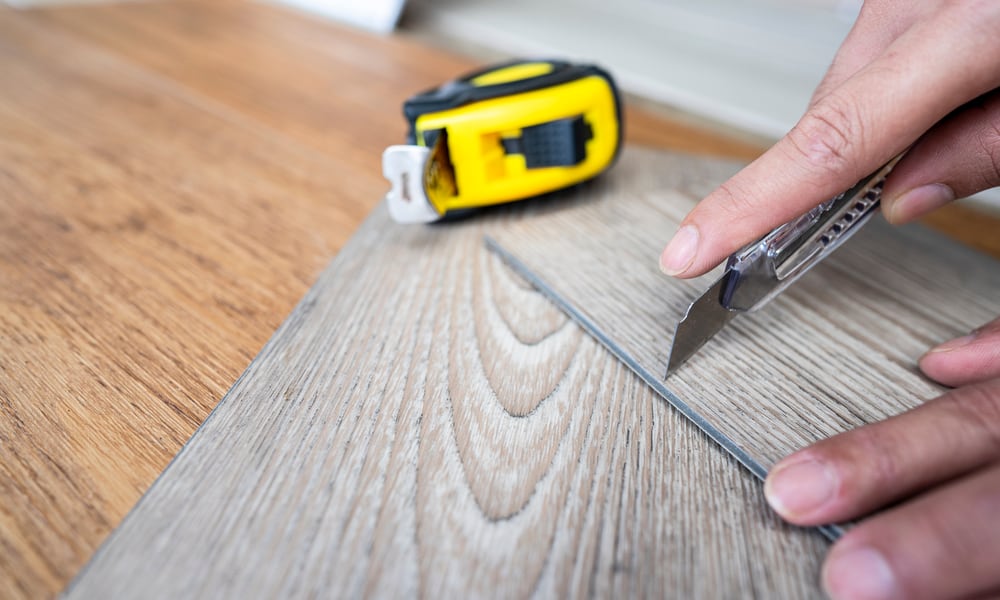
Lay the flooring over the area, allowing edges to curl up against the wall ready for trimming. Make sure that if your lino or vinyl has a direction or pattern, that this is lined up straight before trimming.
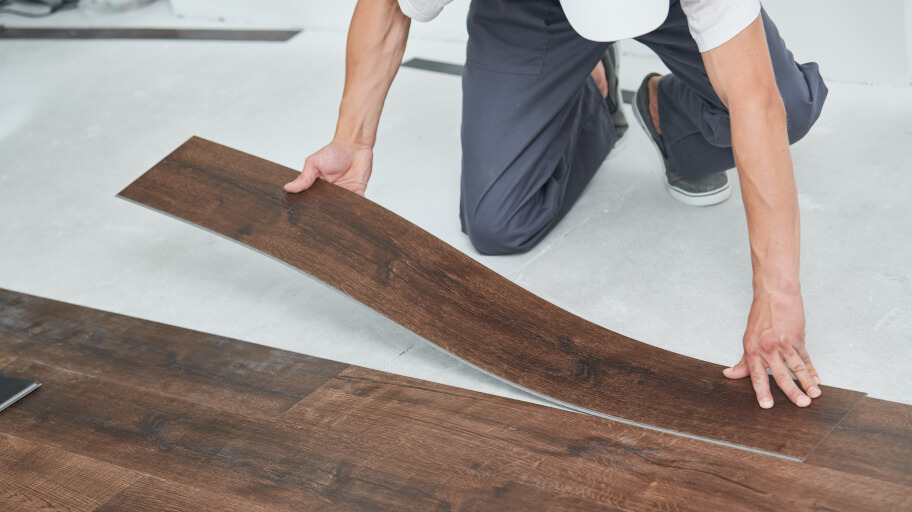
Working slowly and carefully, apply adhesive as per the instruction on the product you have purchased, before carefully rolling the cut vinyl over the glued surface, adhering one half of the area at a time.
Unsecured materials have the potential to slip and/or bend, which will leave you with a sub-optimal end result. Make sure you have the right type of adhesive on hand, and a lino roller for an extra smart finishing touch.
If you are only laying flooring for a small room such as a bathroom or laundry, and laying over existing lino or hardwood, then an adhesive tape around the edges may be sufficient for adhering your vinyl.
For larger areas, or for laying directly on to concrete, you will need to use a lino or vinyl adhesive glue to secure your cut flooring into place. To do this, carefully roll back your vinyl once it has been cut to size. Sweep or vacuum the area to make sure the surface is dust-free before applying your adhesive.
Use a lino roller to go over the lino as soon as it has been glued down, rolling from the centre of the room outwards to remove any air bubbles.
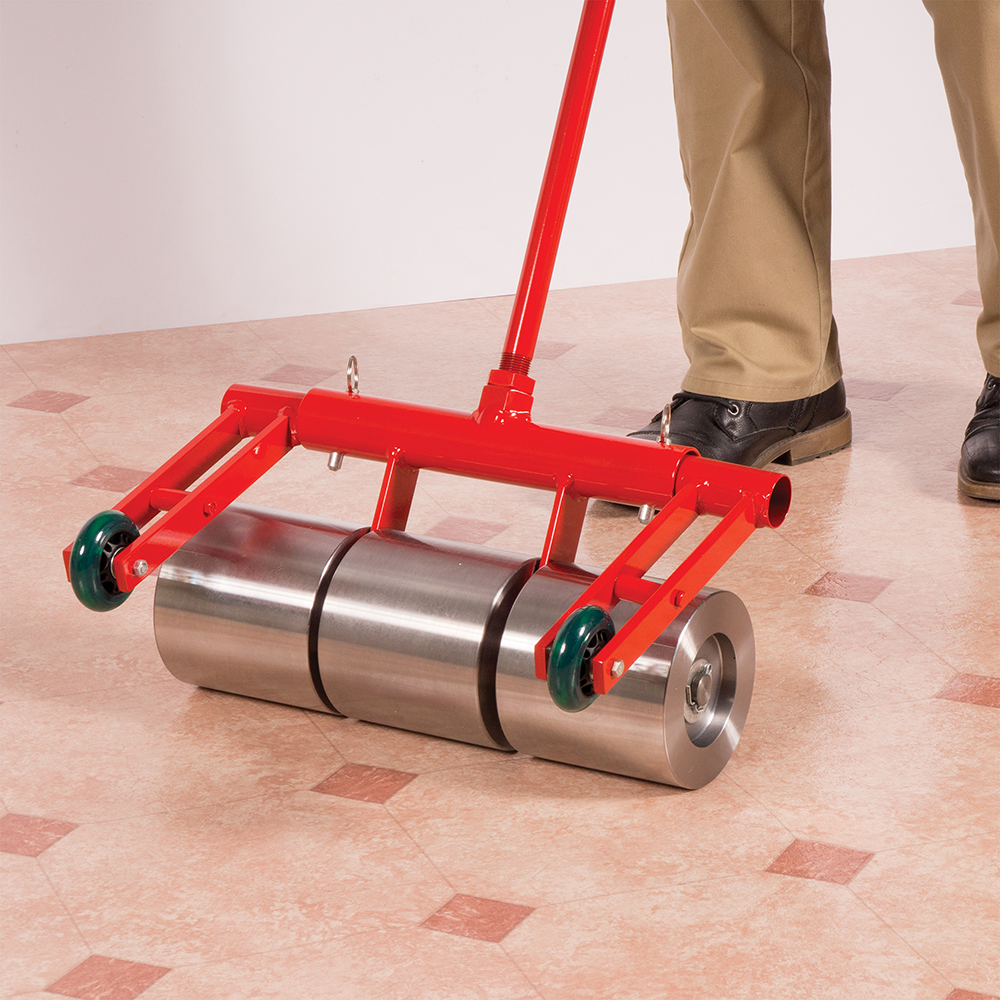
To finish, bond any seams with a seam sealer, then replace the moulding and clean any adhesive residue left on the floor. Keep the area dry and avoid foot traffic for at least twenty-four hours after installation to make sure your flooring is dry and bonded.
We hope you’ve found our article on how to lay lino useful and that you can apply it to your next vinyl job!. We post DIY advice on our blog frequently, so be sure to check back for the latest tips and tricks to pull off excellent jobs around your home.
At Hirepool, we have a variety of sanders, flooring strippers and a lino roller for hire to help you achieve a professional vinyl floor in your home. You can book one online or get in touch with your local branch to talk about selecting the right gear for your reno project!
Our team is always happy to help you select the right gear for your DIY job. Call us on 0800 15 15 15 to have a chat about how we can take your DIY game to the next level or order gear online now.