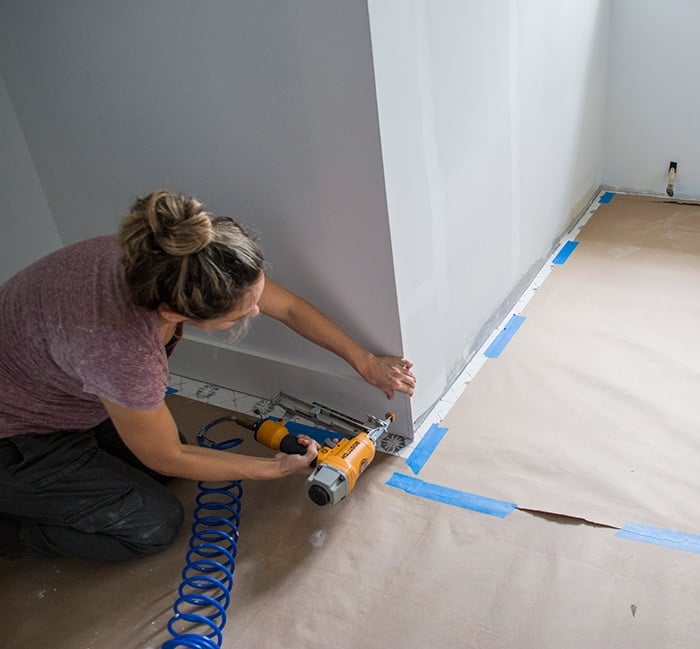
- Timber boards
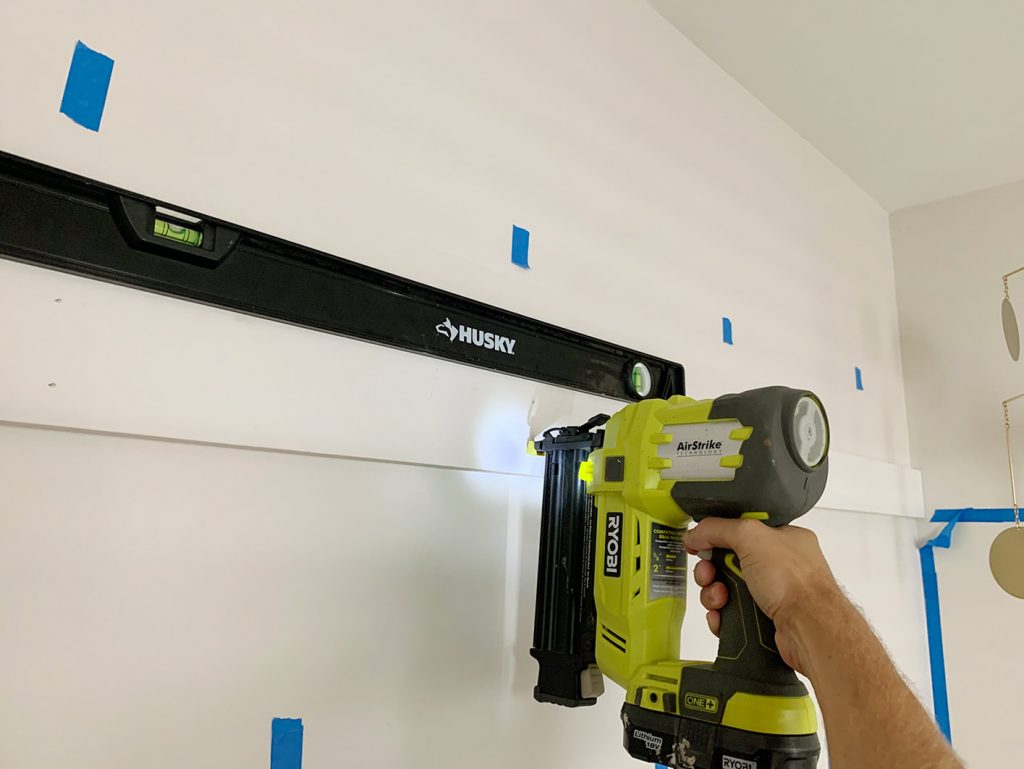
- Laser level or levelling tool
- Measuring tape
- Stud finder (optional)
- Wallboard glue (optional)
- Wood filler or joint compound
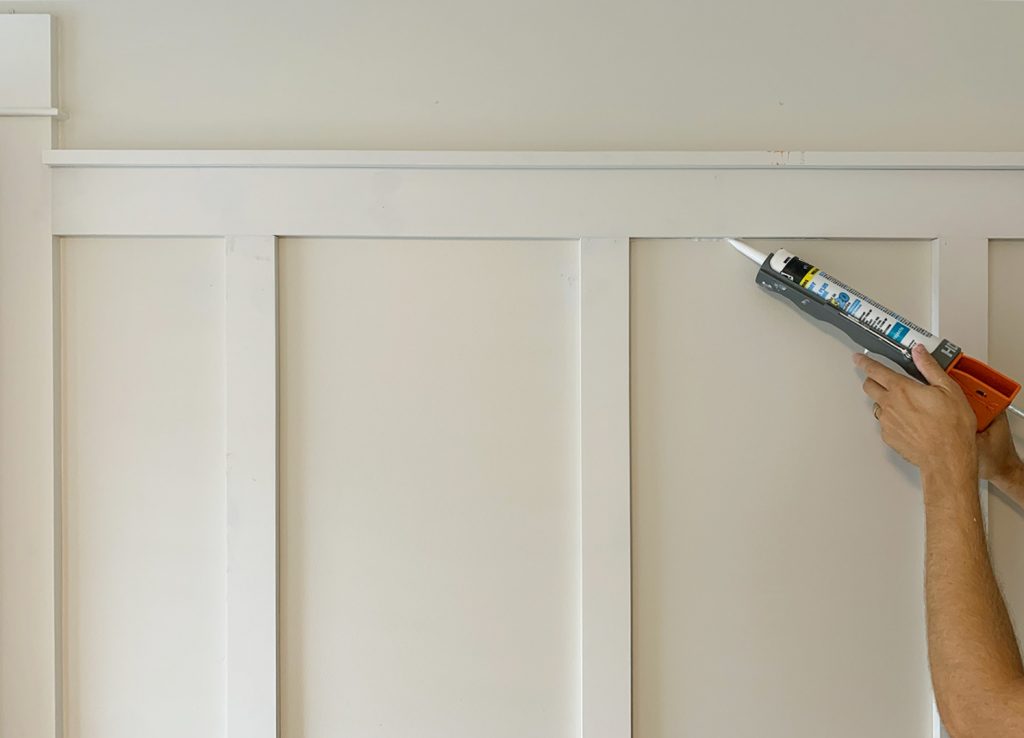
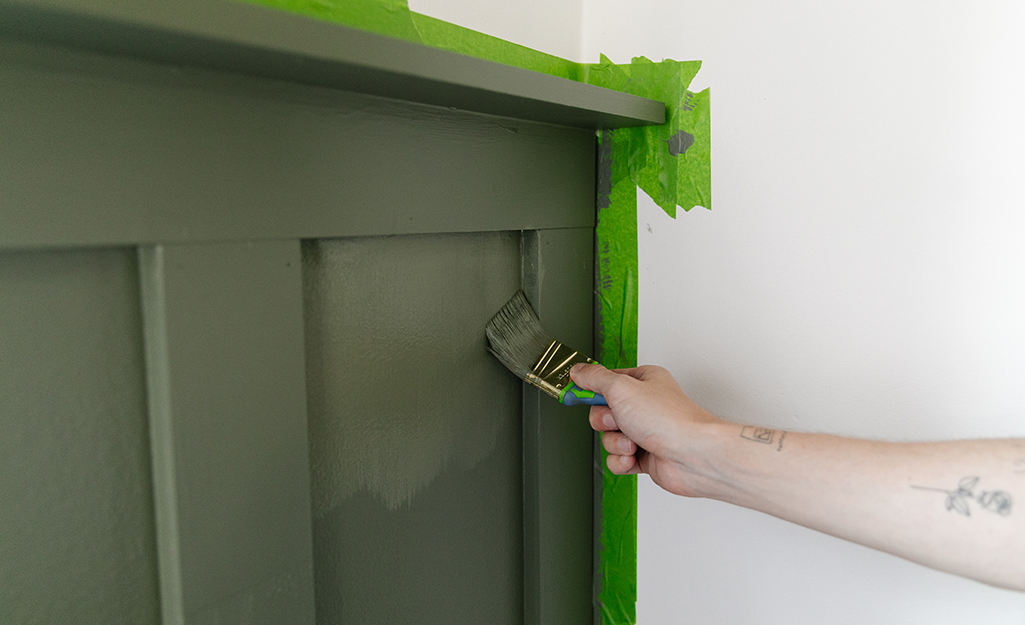
- Caulk (paintable) for mouldings and a caulk gun
- Sandpaper or a small sander
- Paint primer
- Paint of choice (durable hard finishing paint recommended for high traffic areas like mudrooms and hallways)
- Paint brushes and rollers
- Masking tape
In addition to these supplies you’ll need to ensure you have the correct safety gear on hand:
- Dust mask - to wear when sanding a painting
- Eye protection - when operating power tools
- Hearing protection - when operating power tools
- Sturdy footwear
- Protective gloves (optional)
What is board and batten?
Historically, board and batten was used for the exterior of houses by laying strips of wood over wall joints to keep the cold out. Eventually, this process made its way inside, and it's now used to add style rather than functionality.
Typically, wood battens are secured to a wall in a horizontal or vertical pattern, which creates depth and dimension in a space.
Although the style itself has a lot of history and is commonly featured in old homes, the more modern versions can reflect anything from geometric shapes to trendy paint choices, making board and batten suitable for any home needing a spruce up.
Where can you utilise board and batten
Board and batten can be used almost anywhere in a home, whether it’s for a bedroom accent wall, a hallway or re-styling the home office. You can use it to make a statement in one spot, or install it throughout a house for ultimate impact.
There are endless options when it comes to the style of board and batten, whether you choose something traditional or modern.
Board and batten can also be installed on the exterior of a home which adds a charming element, leaning more to a cottage, farmhouse or colonial style.
Types of board and batten
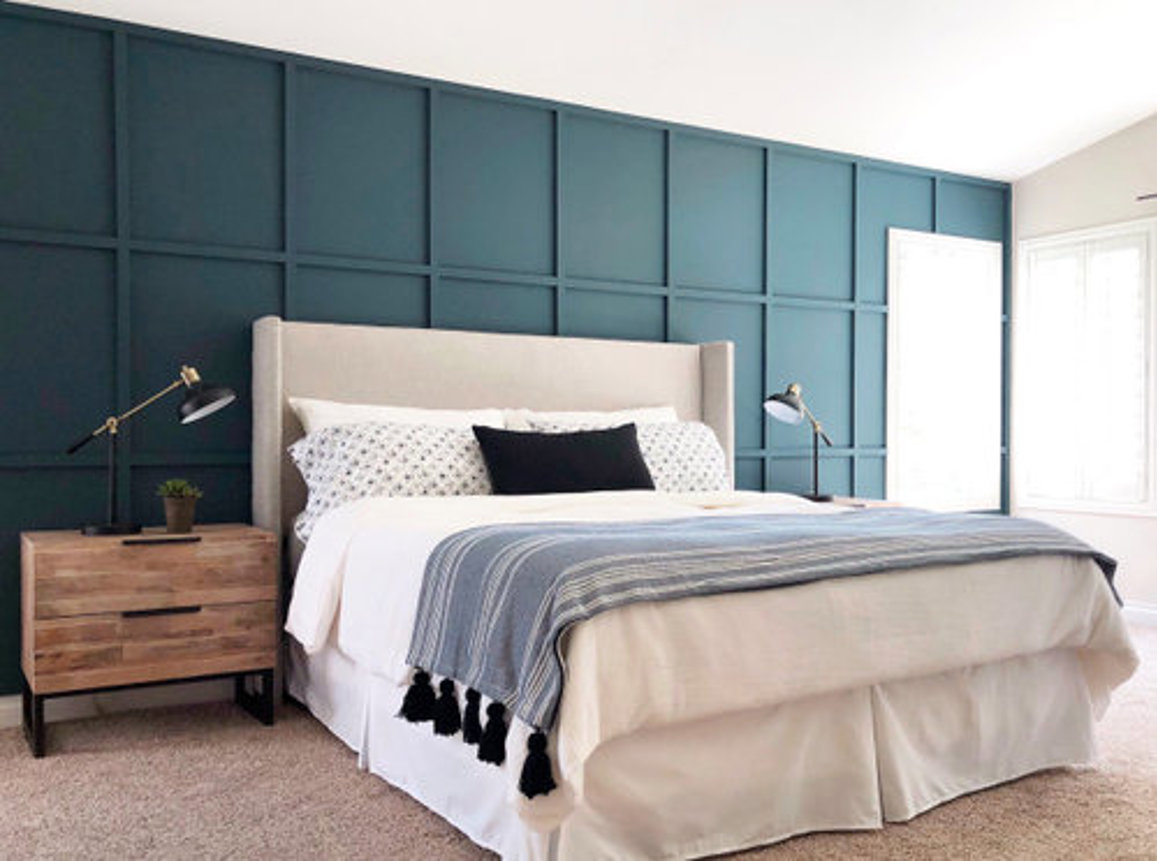
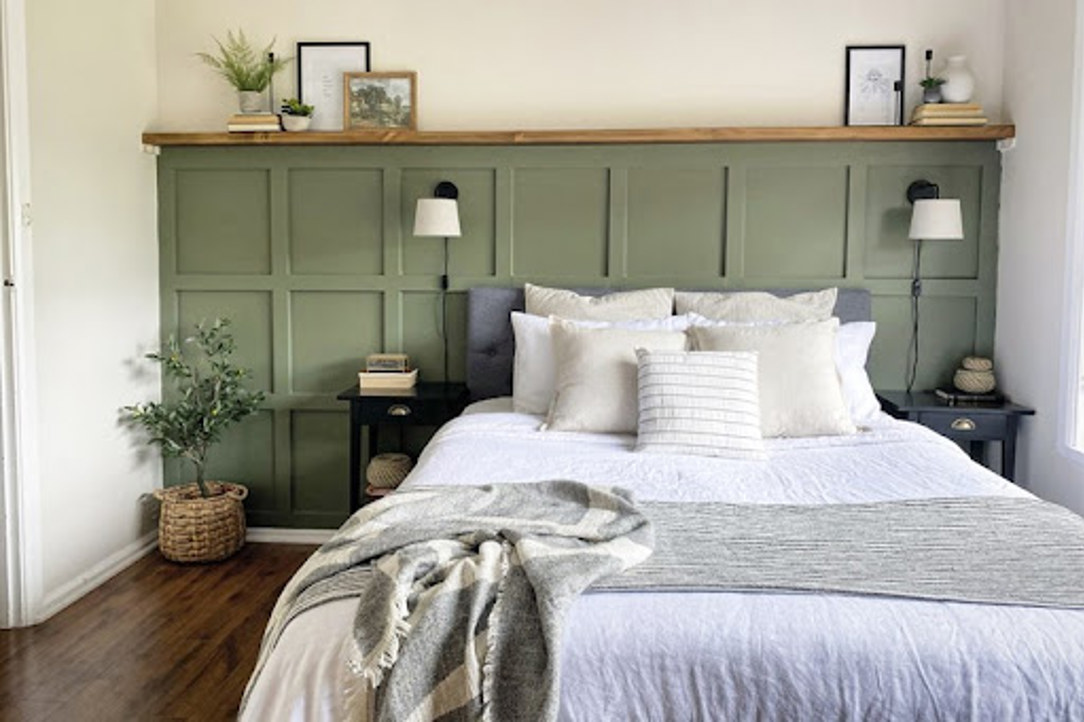
Half wall
This style is great for hallways as it doesn’t close narrow spaces in too much. Half wall board and batten can also be used to create a faux headboard look in a bedroom
Typically you would have top and baseboards running horizontally, with vertical battens in between
Types of board and batten
Half wall
This style is great for hallways as it doesn’t close narrow spaces in too much. Half wall board and batten can also be used to create a faux headboard look in a bedroom
Typically you would have top and baseboards running horizontally, with vertical battens in between.
 Source
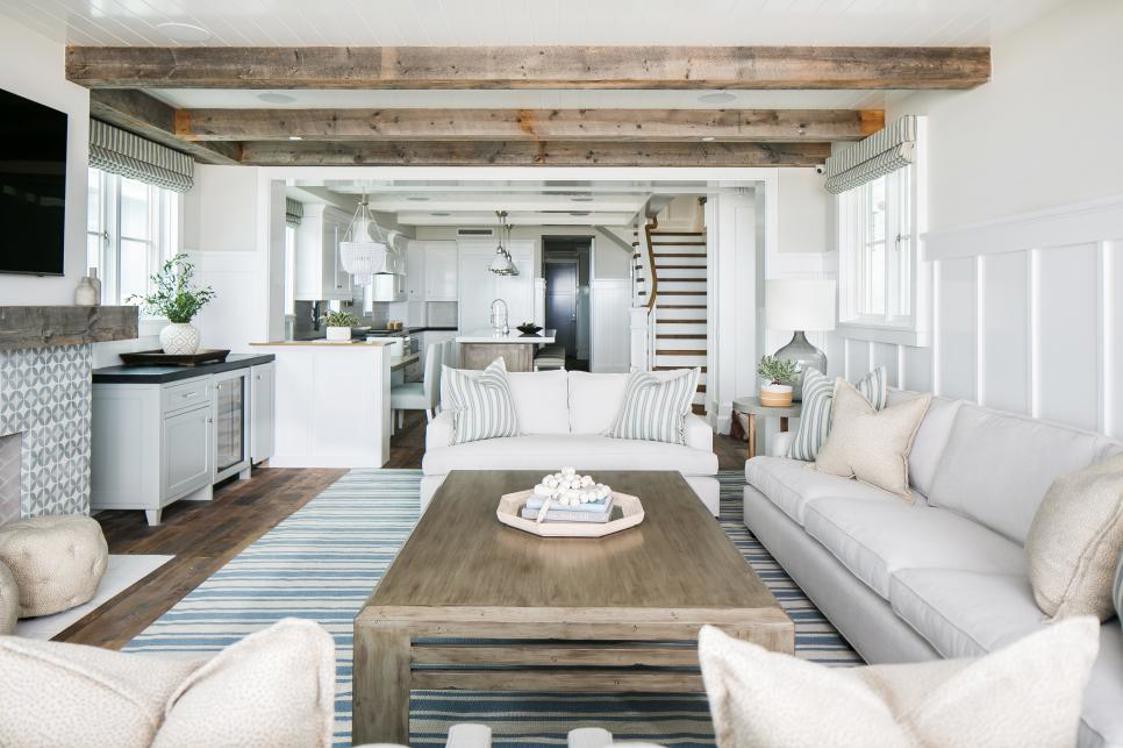
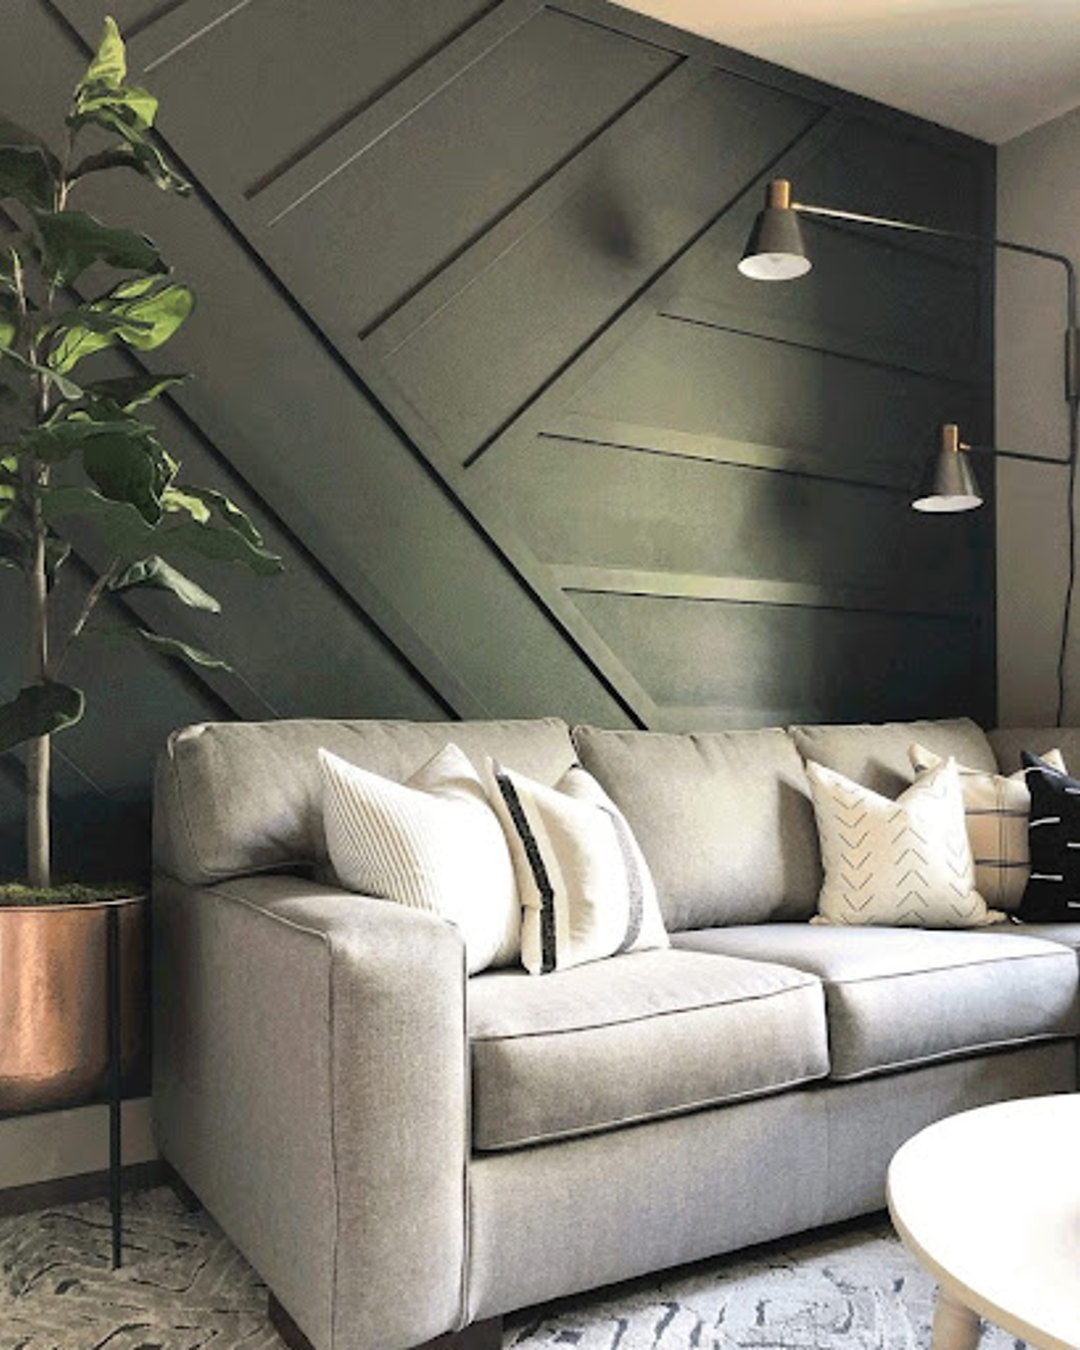
Full wall (feature wall)
A full board and batten wall can be in any pattern you like, and they are great for making a statement in one space, for example on a living room wall
This style can also add the illusion of height to a room by drawing the eye upwards to the ceiling.
 Source
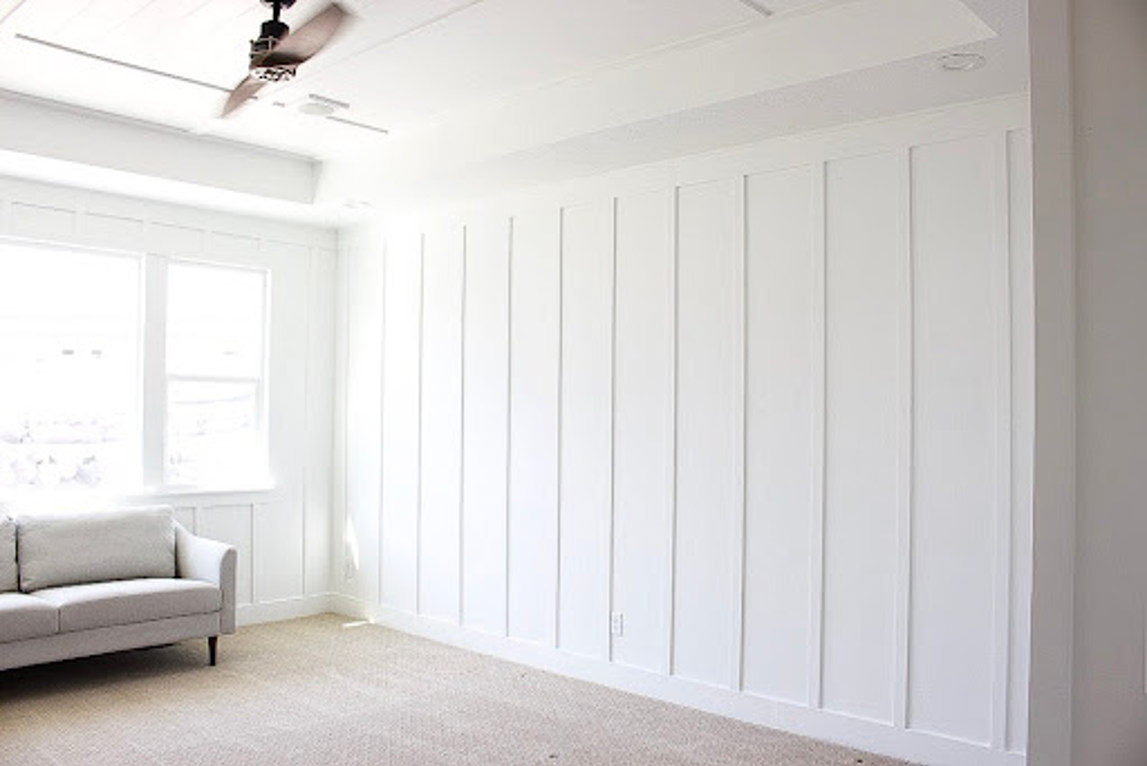
Board and batten vertical
This design is also great for adding height, and it’s one of the more simple accent wall panel styles. The vertical battens can be installed with various spacing options, which makes this design versatile.
The simplicity of vertical battens adds interest to a room without being too niche
 Source
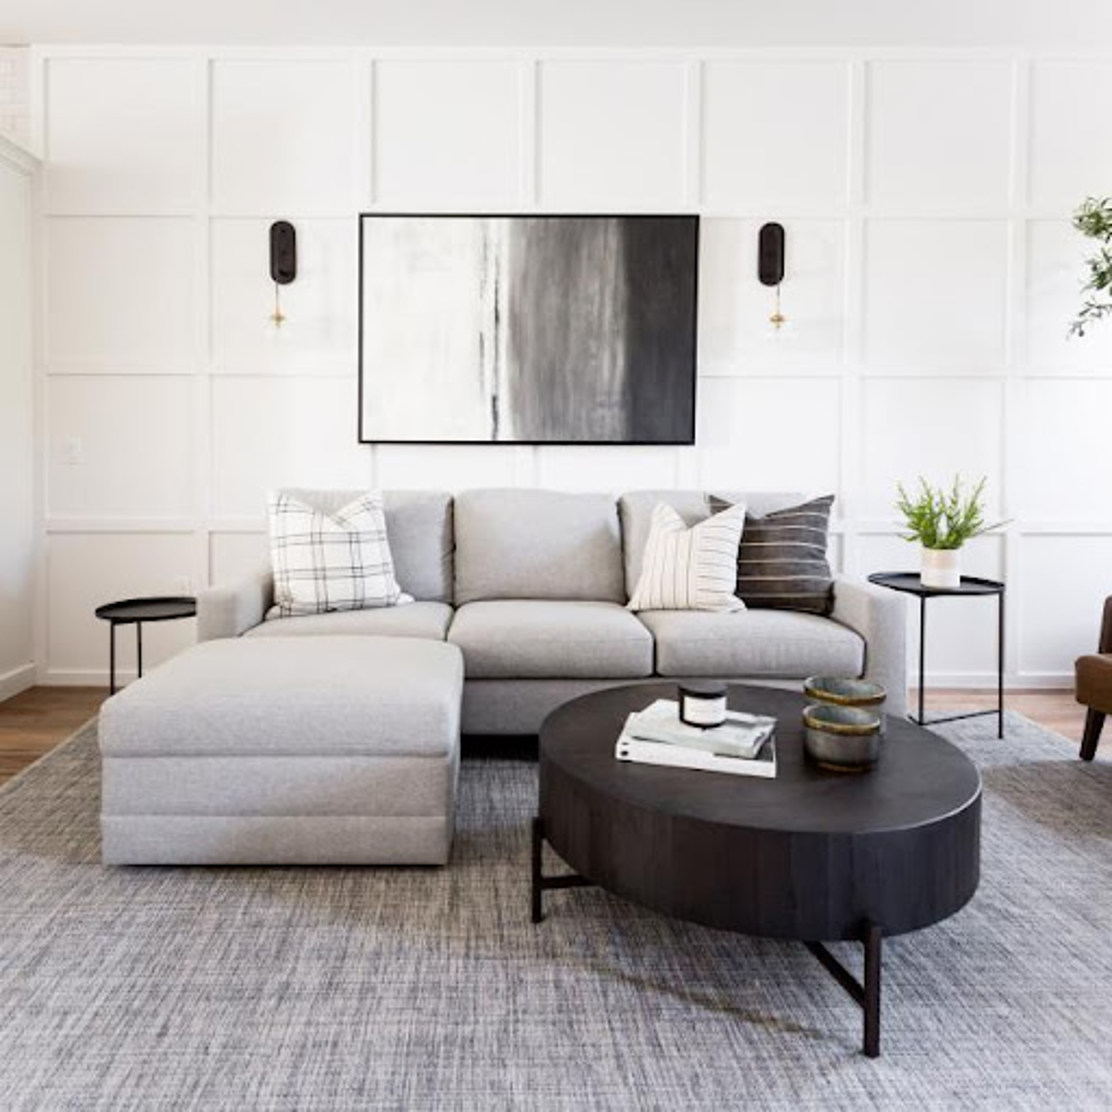
Board and batten grid
This style adds extra character for something a bit different, but the grid design is simple enough to age well.
 Source
Geometric board and batten
Geometric designs have become very popular and is the most modern take on the style.
Featuring angles and variation in pattern, this one is a funky choice for places like kids bedrooms.
 Source
Benefits of board and batten
Aside from adding lots of character to any space, board and batten is an affordable and easy install project.
As far as weekend projects go, this one gives you lots of bang for your buck, plus it’s not too technical, so anyone can give it a go.
The tools needed for board and batten are fairly minimal, and you can hire anything you don’t have from Hirepool!
Choosing the right materials for board and batten
What type of timber do you use for board and batten?
For a batten board, it’s really important to use knot-free timber, otherwise, you will have to use filler on any holes. You should also use dressed timber, as it has a smooth finish.
Tip: Pick up your timber about a week before you start the project and just let it sit in your home (this is called “acclimating” the wood) to avoid cracks caused by expansion or contraction, which happens if it’s not acclimated when it’s installed.
What size nails do you need for board and batten?
The size of the nail you use will be dictated by the timber depth you use. You need to make sure they are long enough to go through the timber board, and well into the stud.


