Hire cart - {{ cart.TotalQuantity }} item{{ (cart.TotalQuantity != 1 ? 's' : '') }}
Mandatory items
Recommended items
Cart is empty. Add gear you want to your hire cart and review them here.
There are no branches matching your search.
Login to view or create favourites and other benefits.
Register to start speeding up your hire process and keep track of your hire history.
Access the Hirepool Customer Portal from here. This same information can be seen by registering for an online account.
Nice to see you again. We've made a few changes since you were last here.
Pick a colour
Favourites ({{ userFavourites.length }})
Add your frequently hired items to easily view and hire them again.
Keep your contact information with us up to date so you get the latest and best rates with us.
Hire cart - {{ cart.TotalQuantity }} item{{ (cart.TotalQuantity != 1 ? 's' : '') }}
Mandatory items
Recommended items
Cart is empty. Add gear you want to your hire cart and review them here.
Drilling accurate holes for your DIY or commercial construction project can be pivotal in the quality of the work you end up producing. In fact, good drilling practice can make or break a project, with multiple errors often leading to a less-than-ideal result. Our purpose here is to lay out an easy-to-read, informative guide to drilling perfect holes every time, giving you a valuable new skill and improving the quality of your current job and any future projects you work on.
We’ll start with the different reasons you may have for drilling holes, from hanging artworks and assembling furniture to fixing beams on a professional construction site. After that we’ll go over a few benefits of hiring a drill versus buying one, followed by the preparation process you should check off before you start drilling; this includes a breakdown of some of the most popular drill bits and other relevant details. After we’ve got the bases covered, we can get into the process of starting to drill your holes, simple dos and don'ts, tips on technique, and the different methods you should apply depending on the context of the job you’re doing.
There are a variety of different reasons you may need to drill a hole. Drilling a hole for a screw is often a much longer process than simply banging in a nail, but the superior strength gained from the thread (the small ridges running round and round the screw) means that drilled in screws won’t come out as easily. This gives a tighter hold and provides better grip over time. Jobs that require a drill can range from household applications like mounting a TV or installing art, to more serious jobs like drilling holes in walls, ceilings or other materials on a job site. Learning to drill is a key skill to master for tasks around the house or on your construction site.
There are several benefits to hiring a drill as opposed to buying a new one outright, including upfront cost, reliability, versatility and storage.
Hiring a drill is objectively much less expensive than buying one new from a hardware store, especially if you don’t need to drill holes all that often. The upfront cost of a purchase is often many times the cost of hire, so you’ll have to get a lot of use out of the tool before seeing returns on the investment. While there are cheap drills on the market for the equivalent of a day's hire, it’s important to know that Hirepool only stocks the highest quality brands so when you hire a drill from Hirepool, you’re hiring a top-of-the-line, well maintained tool as opposed to buying a cheap tool which can be unreliable, so the results you can achieve are likely to be superior.
The reliability of a hire drill is also superior to that of keeping your own or borrowing from a friend - hire drills are checked regularly by Hirepool’s technicians and are maintained to the highest standard, meaning you’ll rarely (if ever) end up having to deal with malfunctioning hardware. You’ll also be hiring a tried and true brand of drill, saving you time researching and ensuring great performance so you can get the job done quickly and without any hiccups. On top of all that, you give the drill back after use so you don’t have to worry about storage.
Preparation is key to doing a good job and avoiding any injuries during the drilling process. It’s recommended that you source all appropriate protective gear. These include:
For any work project involving machinery, make sure you are in a large enough space with a sturdy work surface and no distractions. Ensure the workspace is well lit and that you have a first aid kit on hand in case of an accident or injury.
You should also prepare the other tools and utensils you may need for the job, such as:
After you’ve prepared your workspace, you’re ready to decide which drill and drill bit to use for your project.
There are two popular types of drills that are used in many everyday applications for wood, metal and plastic drilling among other things. Here we will go over each and discuss the pros and cons.
Cordless drills are the most versatile and widely used of all handheld drills. They are battery powered and able to be used in many different situations, drilling just about anything you could need. These drills vary in several characteristics such as size, power, speed, and functionality. Some will come with extra add-ons such as a level or hammer function.
Hammer drills are similar to cordless drills but vary in the fact that they have a vibration or ‘hammer’ function. This is used for especially heavy-duty carpentry jobs, but more commonly in a masonry application (i.e. working with and drilling into stone). Hammer drills perform a controlled hammering function during use to break apart or soften the material that it is being drilled into.
The type of drill bit you’ll want to use varies from job to job, and each bit has its own strengths and weaknesses when it comes to practical applications in your construction or household projects.
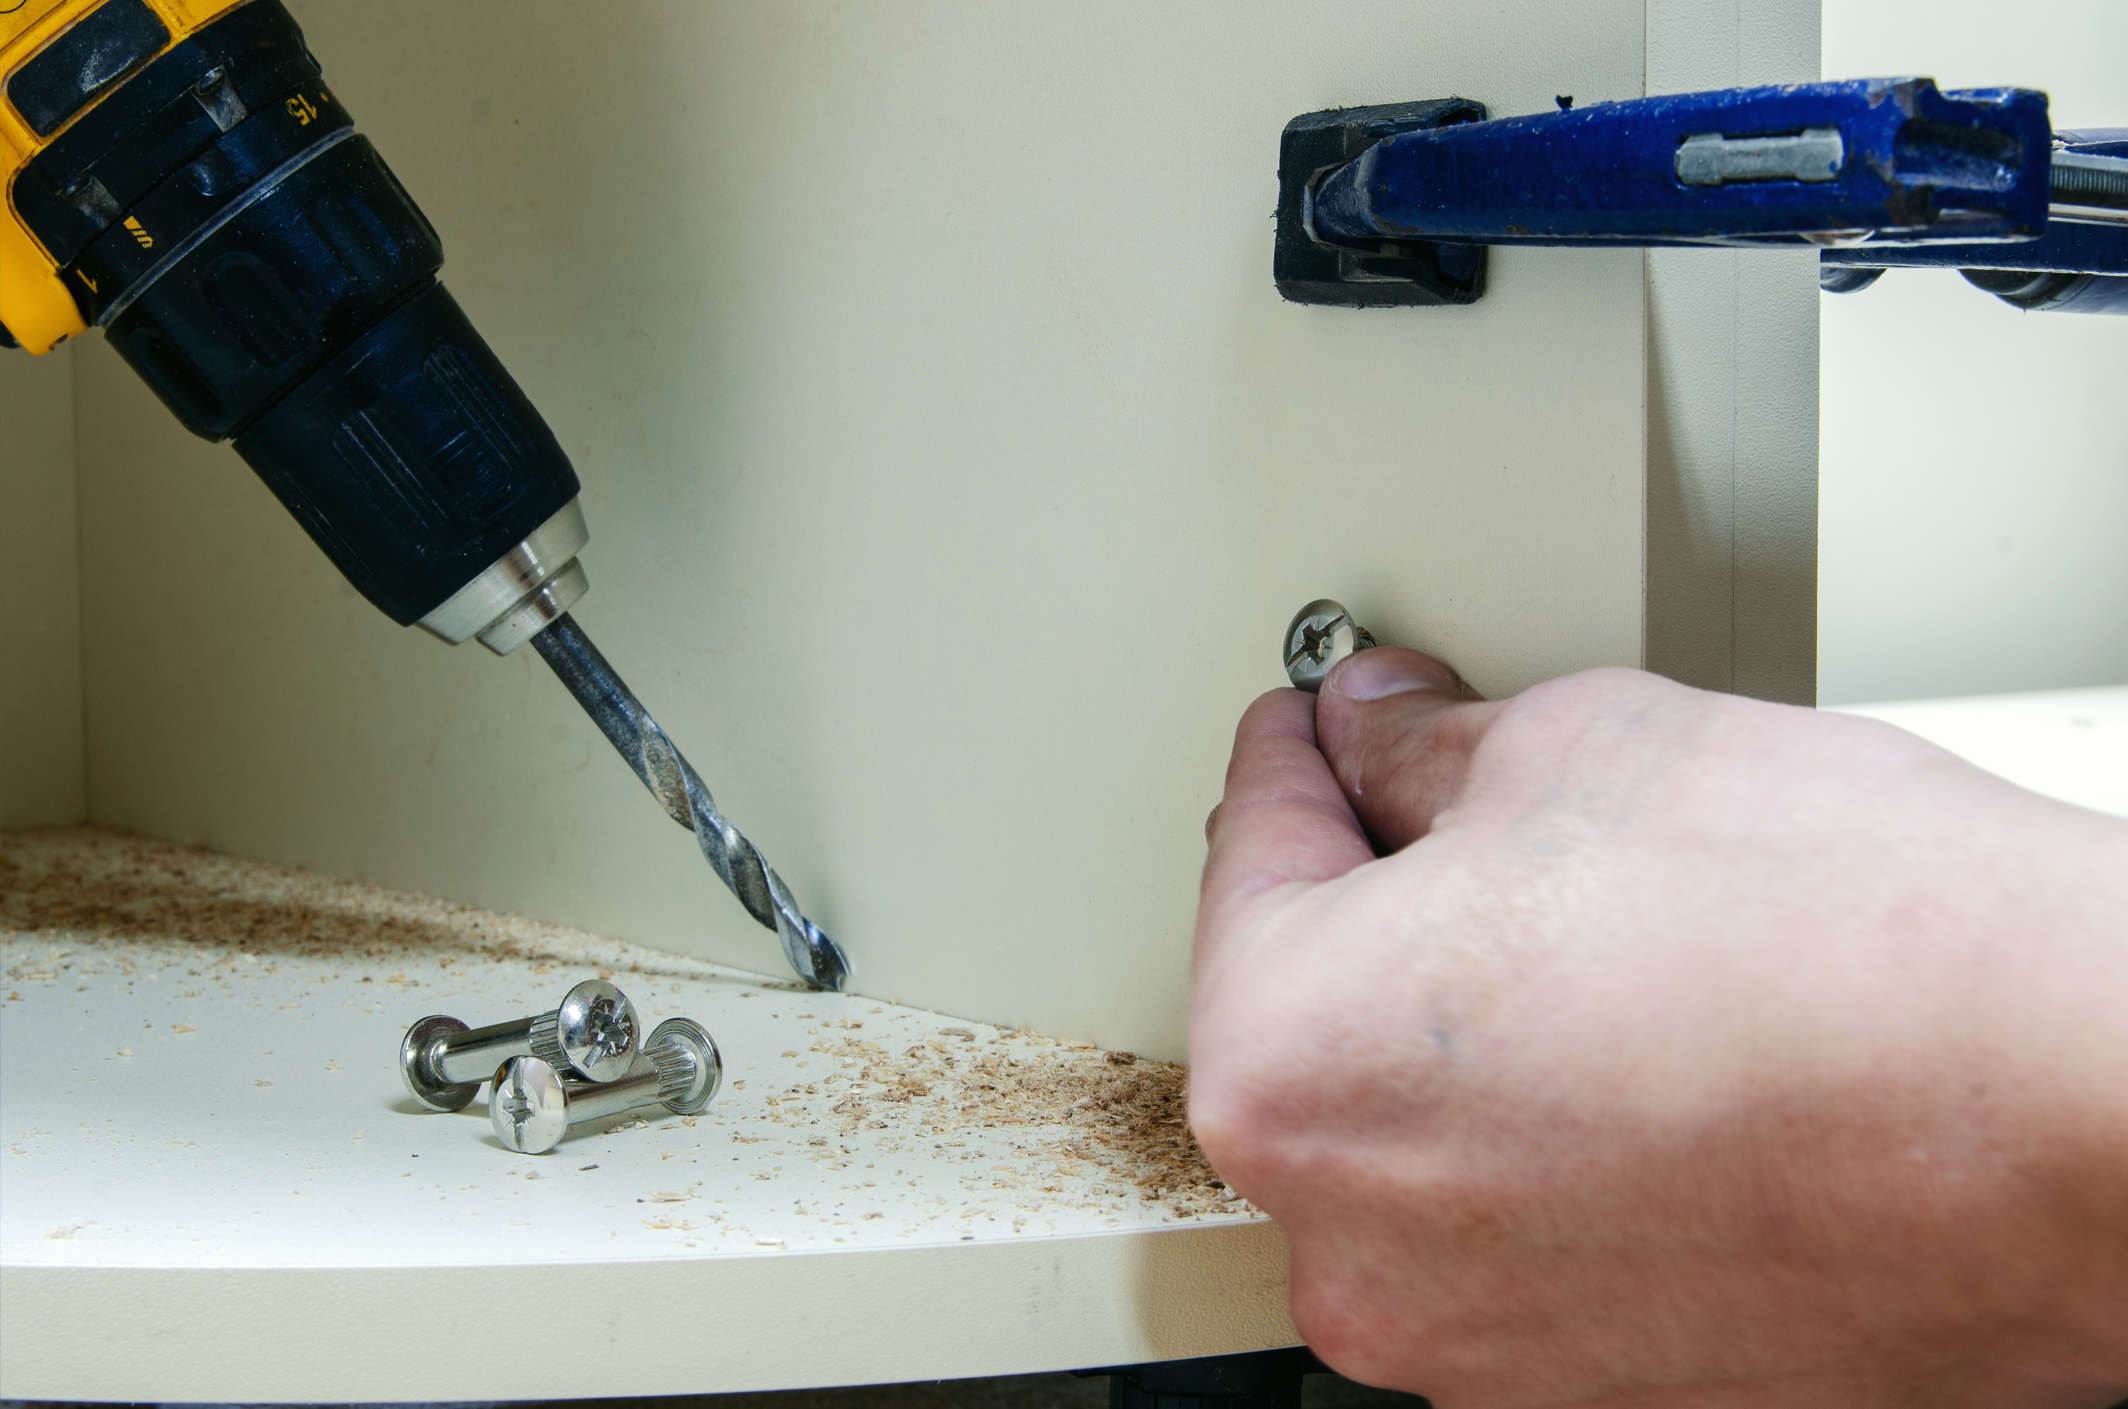
Arguably the most common and versatile type of drill bit, they are most widely used for drilling timber and many softer types of metal. If you’re unsure as to which bit to use for your job, this may be your safest bet.
Twist bits are commonly used for the application of drilling steel. The shape and gradient of their thread is well suited to cutting through metals, making them ideal for drilling steel wrappings and similar jobs.
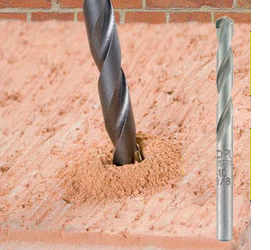
SDS bits are used for masonry work and thus won’t be ideal for most household projects. SDS bits and drills work in a similar way to hammer drills, with the exception that the hammer power is usually far greater than that of a regular handheld. These bits are perfect for hard stone and engineer bricks.
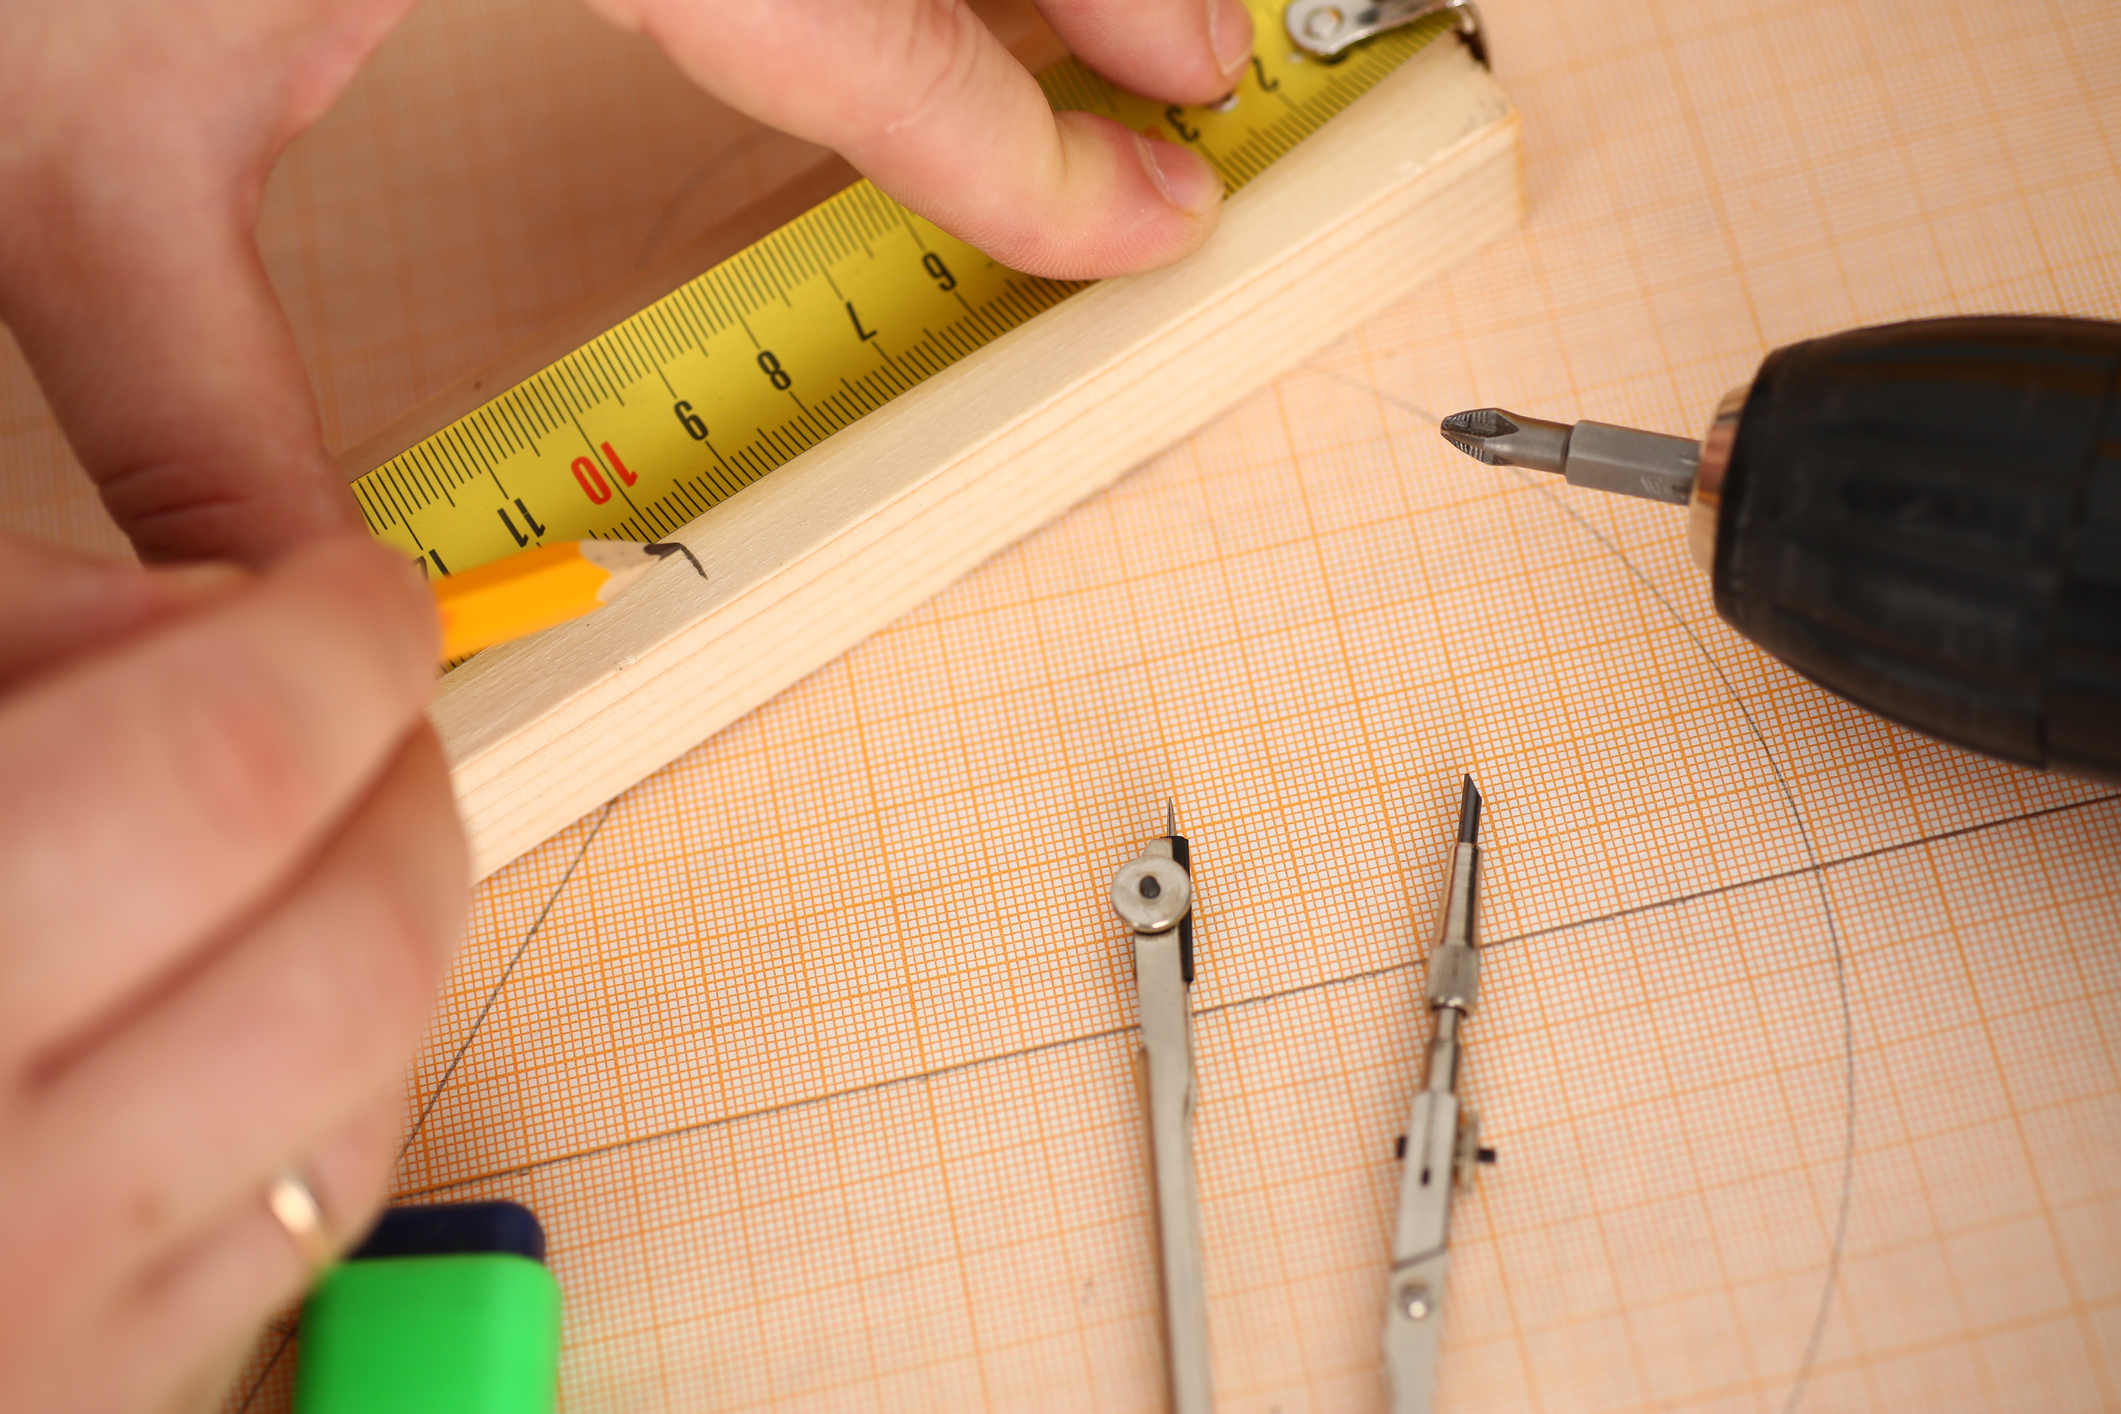
A countersink is usually used before drilling larger varieties of screws - the purpose of this bit is to create a shallow cone-shaped circle in the wood for the head of the screw to fit into for a flush finish.
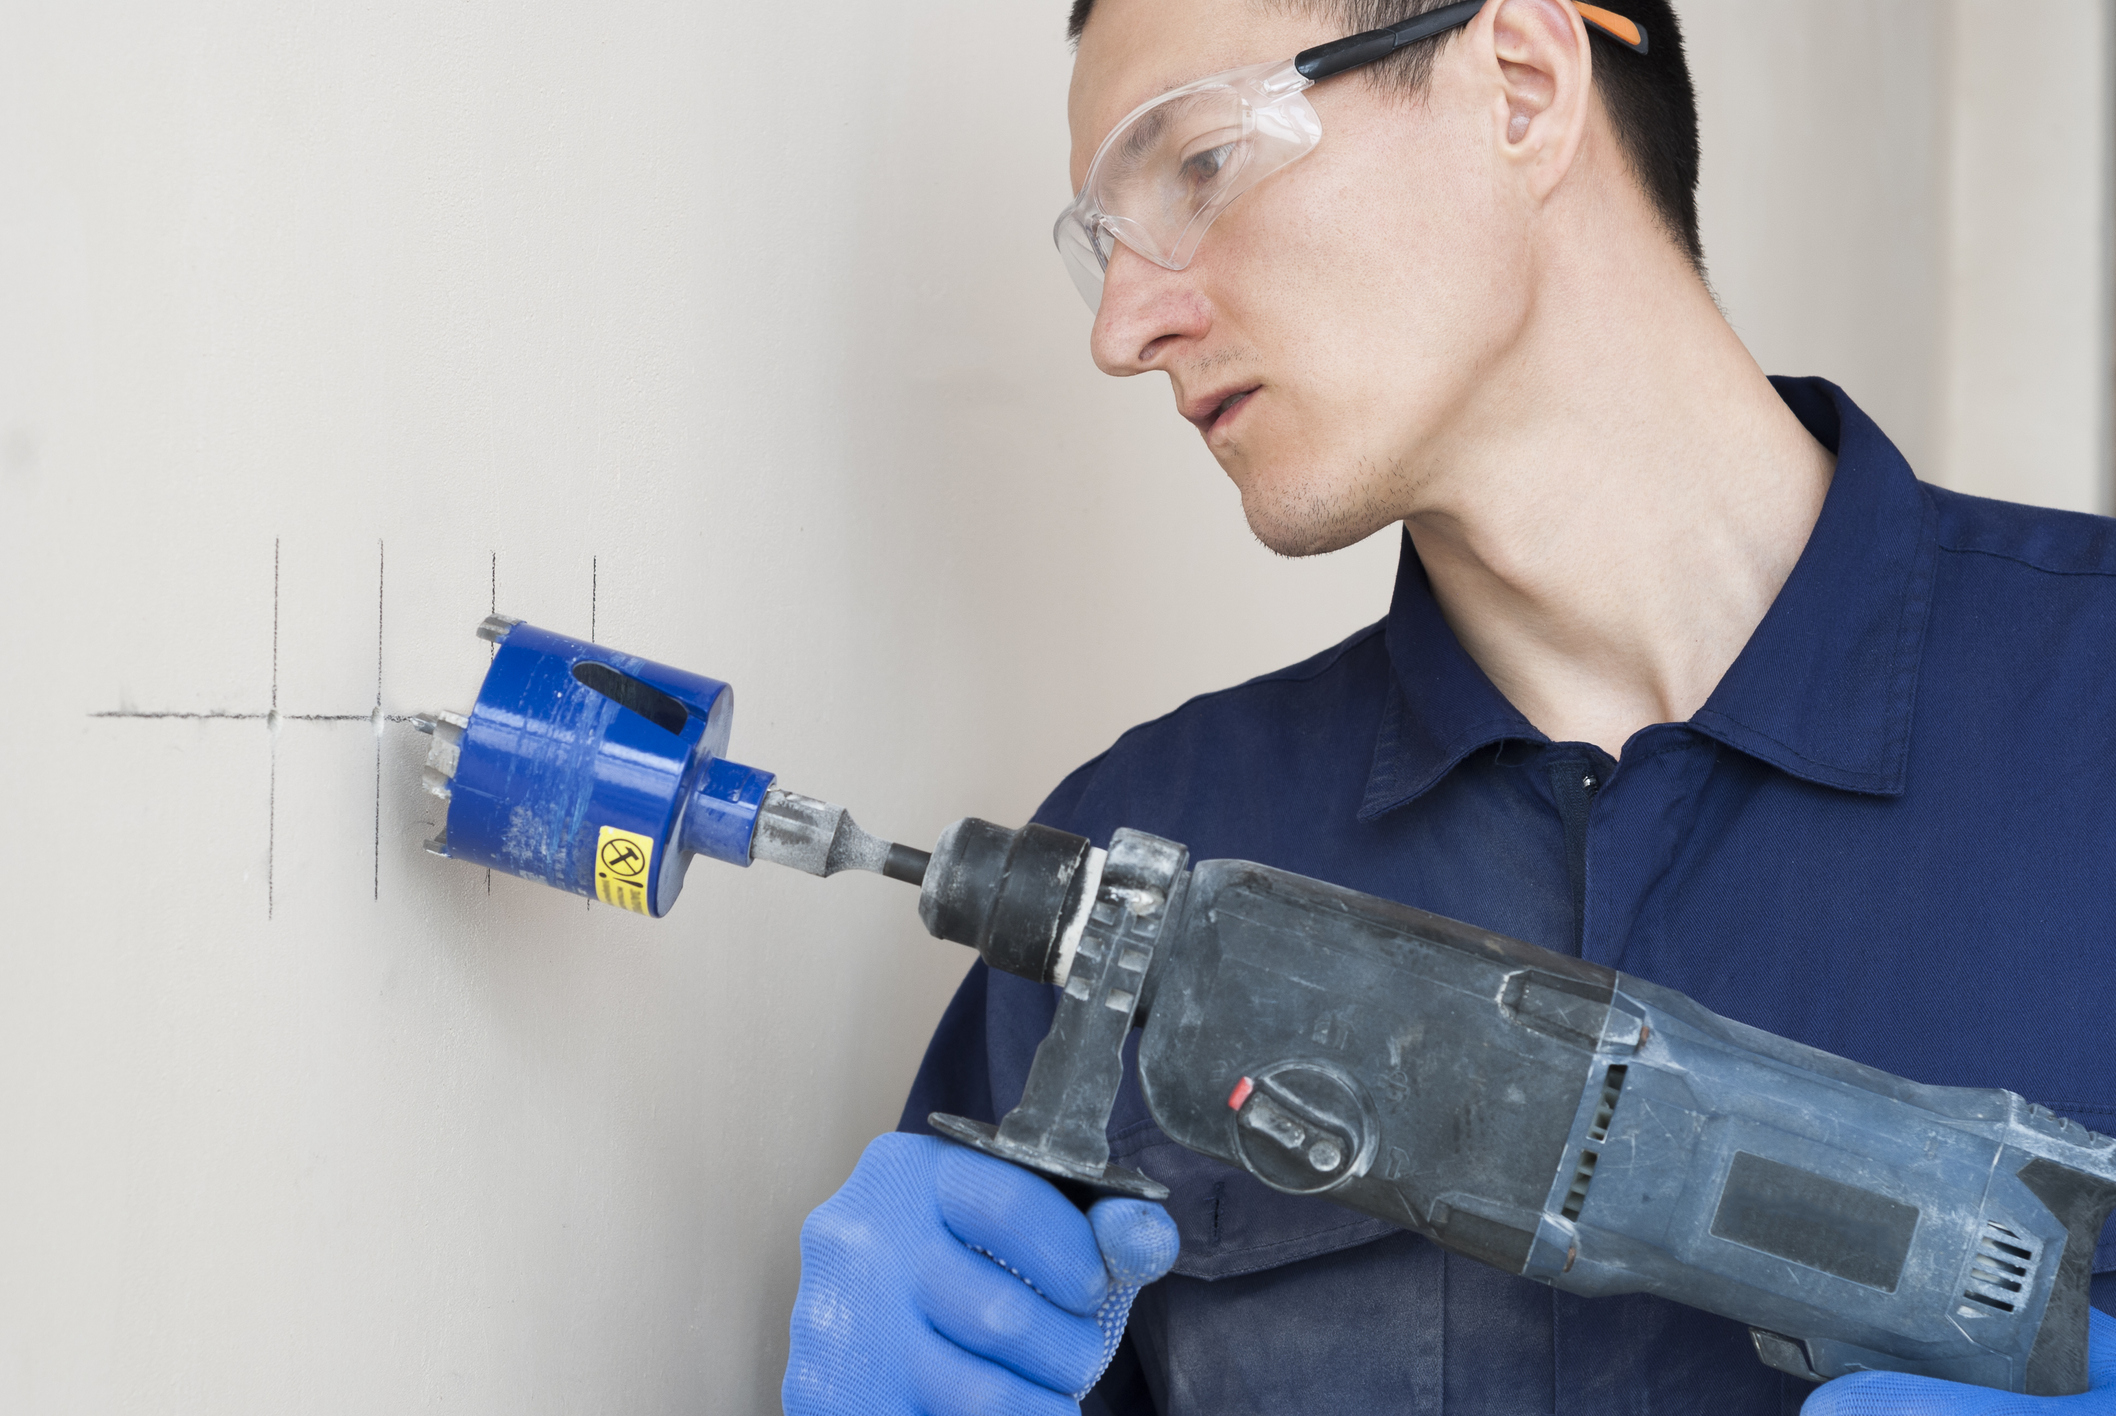
After you have done all appropriate preparation and selected your drill bit, it is time to begin the process of actually drilling your hole. In this section we’ll go over checking your drilling area for obstructions, drilling in a secure place, marking the drilling location and drilling the hole.
Before you start, make sure you’ve ensured the area you’re drilling is free of any obstructions or infrastructure that could be damaged by a drill. This includes pipes, electrical wiring or any other exposed workings.
This means making sure you’re not just making an uneducated guess before you drill. For example, if you’re looking to drill into a joist (wooden support) behind a wall, look for telltale signs of its being there before you start - e.g. studs or nail heads leftover from construction. You may want to use a stud finder tool or try tapping the wall until it sounds solid instead of hollow. Another great trick for finding the stud is running a strong magnet back and forth over the wall until it connects to a gib screw. Knowing that studs are typically 450mm apart it's fairly easy to estimate where to start scanning a magnet.
Before drilling, finalise your point and mark it with a pencil (or something that won’t leave a permanent mark). This will allow you to drill accurately.
Use something like masking tape or a pencil to mark your drill bit with the depth you want to drill. You could make a rough measurement against the screw you intend on putting in afterward to accomplish this.
After you’ve prepared everything, set your drill to your desired function and place the drill bit on the point that you marked earlier.
Gently squeeze the trigger of the drill while holding it at the optimal angle. For most basic jobs this will be exactly perpendicular to the drilling surface.
Hold the drill steady on a low setting until you feel the bit find purchase within the hole, then steadily increase the rotation speed until you’ve drilled to the desired depth.
Now, still holding the drill steady while running at full speed, squeeze the trigger again and withdraw the drill from the wall. The drill should release itself from the surface, leaving a cleanly drilled hole. Blow or wipe any chips or residue from the surface, and then you’re done!
Congratulations! You’ve learned how to drill clean and accurate holes. This is a skill that will be highly applicable in your future hardware projects.
For you to carry out quality drilling and finish every other aspect of your project to the highest possible standard, you’re going to need the right gear for the job.
We have an extensive range of drills from standard cordless to hammer drills, concrete drills and beyond - don’t hesitate to get in touch to discuss your options.
At Hirepool we’re always happy to help. You can browse our range of light to heavy-duty hardware at your local Hirepool branch or online, and speak to our local experts about which gear is right for your job. Let’s make your next project turn out the best it possibly can.
Low Stock Call First
High Demand Product: We suggest making a booking for this item in advance.
Low Stock Call First
High Demand Product: We suggest making a booking for this item in advance.
Low Stock Call First
High Demand Product: We suggest making a booking for this item in advance.