Hire cart - {{ cart.TotalQuantity }} item{{ (cart.TotalQuantity != 1 ? 's' : '') }}
Cart is empty. Add gear you want to your hire cart and review them here.
There are no branches matching your search.
Login to view or create favourites and other benefits.
Register to start speeding up your hire process and keep track of your hire history.
Nice to see you again. We've made a few changes since you were last here.
Pick a colour
Favourites ({{ userFavourites.length }})
Add your frequently hired items to easily view and hire them again.
Keep your contact information with us up to date so you get the latest and best rates with us.
Hire cart - {{ cart.TotalQuantity }} item{{ (cart.TotalQuantity != 1 ? 's' : '') }}
Cart is empty. Add gear you want to your hire cart and review them here.
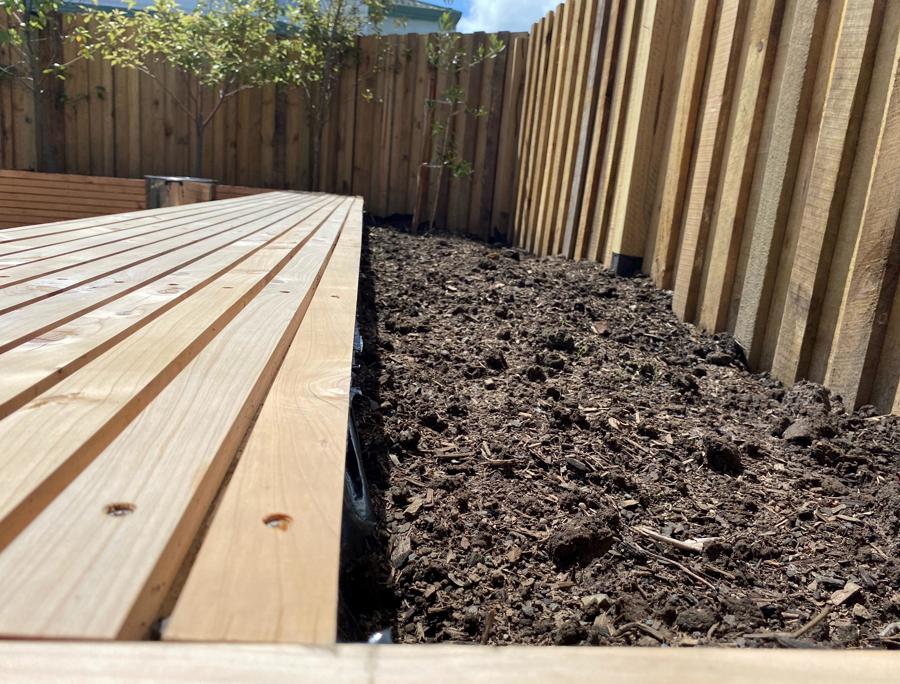
So you want to make your very own raised garden bed? You’ve come to the right place. In this blog, we’ll cover how to easily build a raised garden bed the smart way with tools from Hirepool. This guide is perfect for anyone who is an aspiring home gardener, a DIY type looking for a summer project, or a culinary enthusiast looking to reap some home-grown goodness.
Here, we’ll go over the benefits of having a raised garden on your property, what equipment you’ll on hand before you begin, and a comprehensive step by step method to guide you through the construction process. Let’s get started!
Low Stock Call First
High Demand Product: We suggest making a booking for this item in advance.
Low Stock Call First
High Demand Product: We suggest making a booking for this item in advance.
Low Stock Call First
High Demand Product: We suggest making a booking for this item in advance.
Low Stock Call First
High Demand Product: We suggest making a booking for this item in advance.
Before you start, check that you have everything you’ll need to get started on building your raised garden bed. Checking that you have an appropriate area to start is crucial. Having a raised garden bed design in mind before you start is also a good idea.
Here, we’ll outline the basic tools and garden equipment required for the job, and the types that are best suited to each step of the project. If you see anything here that you don’t have at home, consider hiring it from Hirepool. Our gear is professional quality, regularly maintained, affordable to hire and likely a lot more reliable than the one you might borrow from your neighbour.
This will form the structure of your raised garden. The timber you buy should be treated so that it is rot-resistant, and the quantity you buy will depend on how big your garden bed is going to be - we recommend deciding on your measurements before going to purchase timber. Macrocarpa is a great timber option but on the pricey side. If you’re looking to save on material costs, look for recycled timber or pallet wood and pick up some polyurethane sheeting to line your garden bed and protect the wood from the soil. (if doing this, remember to line the sides only, as the bottom will need to drain into the ground.
You will need a saw for cutting your timber down to size. We recommend a circular saw or compound sliding saw, which can be hired from Hirepool. A mitre saw is also a great option for straight and accurate cuts, or if you want the edges of your garden bed to be neat and tidy.
A regular lightweight drill will be perfect for this job, along with appropriate drill bits and galvanised screws. Drills and drill bit sets can be hired from Hirepool.
We highly recommend a sturdy shovel and wheelbarrow set for easily transporting your garden mix and filling your raised garden. Again these are available for hire from Hirepool.
We recommend mulch mix (you can make this yourself), compost and soil for the perfect raised garden mix, though this is ultimately up to you! Read our guide on how to creat mulch with a wood chipper.
Please wear appropriate protective equipment while working on this project! We recommend being prepared with earmuffs, gloves, and sturdy covered footwear.
We recommend preparing a watering system of your choice - whether that’s simply a watering can or a more elaborate hose system is up to you!
You should also be prepared with general planning and measurement tools such as a pencil, ruler or measuring tape, level and clamps.
There are numerous perks to enjoy when you have raised planter boxes, such as;
Save yourself a visit to the chiropractor after a long day in the garden. With a raised garden bed, you don’t have to bend down nearly as much with a raised bed, giving your back a rest from bending down so much!
Weeds also find it a lot harder to take hold in a raised bed, owing to the fact that they cannot get there unless left unattended for a very long period of time.
Another benefit is the fact that the soil in your raised garden has much better drainage capacity, meaning your plants won’t suffer as much in wet weather. The elevation also means that the soil is less compacted, meaning it drains better than a flat garden bed.
Having your soil sitting up higher means that the growing seasons for your crops will be extended. The elevation means the soil is warmer, giving an extra grace period as the weather gets colder.
As well as growing benefits, there are more practical reasons for building raised garden beds, too - your plants will be protected from foraging animals and kid's bikes, offering them a chance to thrive away from paws and toy diggers.
This DIY project can typically be completed in a single weekend and, if you have the right gear, maybe even a single afternoon. Call in to your local Hirepool branch before you start to get advice on the best tools to use. If you need anything, our team is always happy to kit you out with the perfect gear for the job.
First, you will need to decide where on your property you want the raised garden bed to be. Choose a place that is already fairly flat, or an area that you can easily flatten. The area should get good sunlight throughout the day, but, ideally, should be sheltered from the worst of the elements.
It’s best to make sure your raised garden bed isn’t so big or wide - remember, you will be tending to it while standing on the outside, and a garden that is too wide will mean you won’t be able to reach the middle! 2.1 x 1.8 metres is a common size. This also happens to be a common factory length for treated timber, meaning you might be able to cut down on the sawing work.
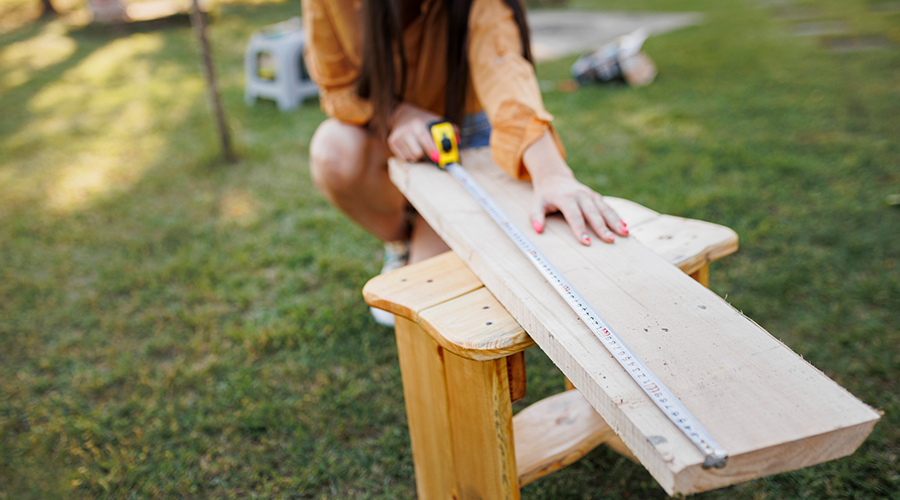
The next part of the process is a final prep before you start your project. When you have decided where your garden will go, clear and level the ground that will become your garden. Use your shovel to skim roughly 20cm off the top of the garden area so that your frame will fit in nicely.
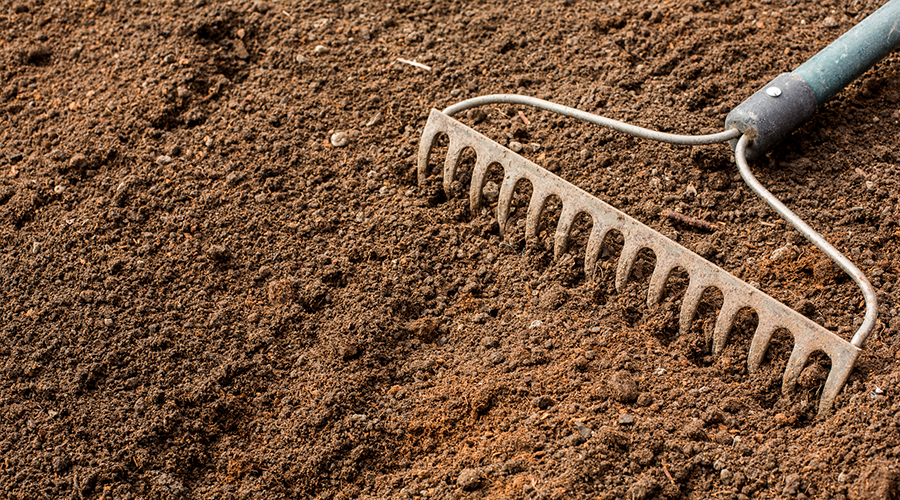
Take your rot-resistant timber and measure out the lengths you will need for your garden. Cut the wood to size using your saw of choice, taking care to be accurate and double-check your measurements before making a cut!
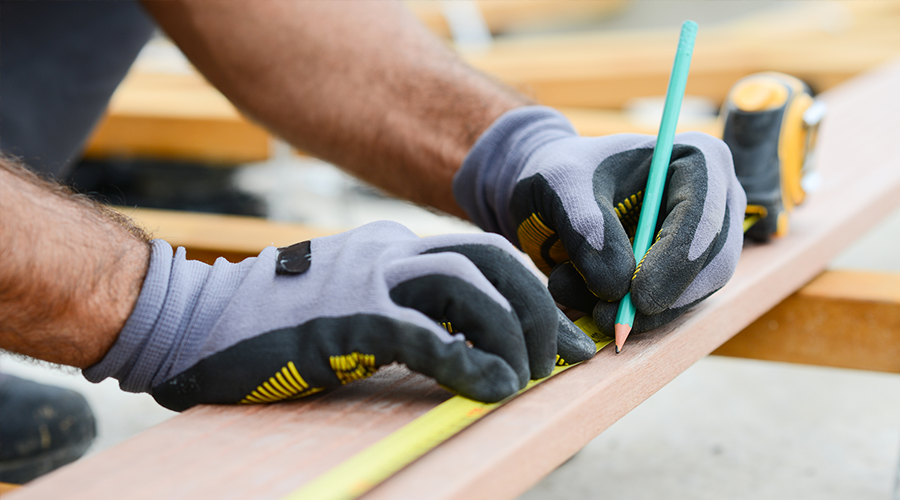
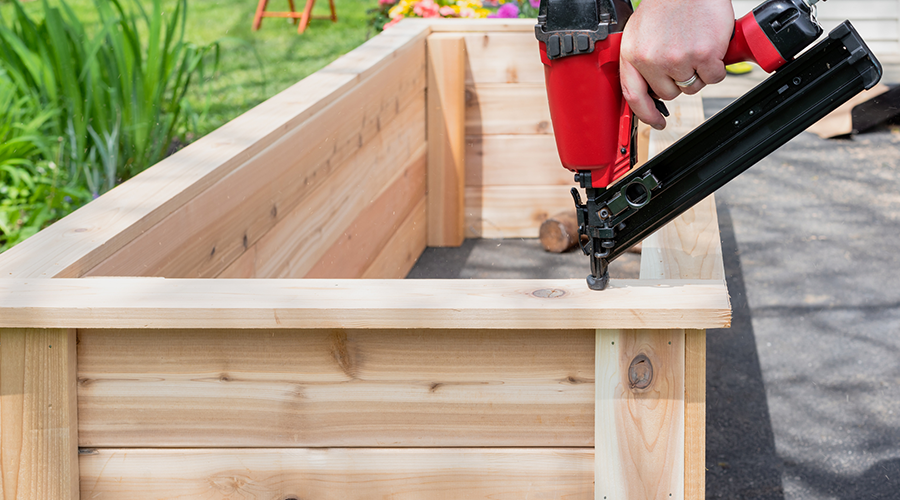
Your garden should consist of a bottom frame and a top frame screwed together. Once you have cut your timber to size, lay out your four bottom planks in the depression you made earlier on your garden plot. Using your nail gun, nail them together so that they fit neatly. To make sure the garden is square, measure both sets of opposing corners. If they are the same, your garden bed is perfectly square.
Next, use a level along the tops of the planks to ensure that the garden bed is level before you start building up the sides. Next, put the top planks on and pre-drill the holes where the screws will go. Once prepared, screw the top half together and then just skew-nail the top planks to bottom planks at each corner. If you want to further stabilise your garden bed, drive pegs into each corner for extra durability.
Now that the frame is in place, it’s time to fill your garden bed. Line the bottom of your frame with newspaper or cardboard, then wet it through with your garden hose.
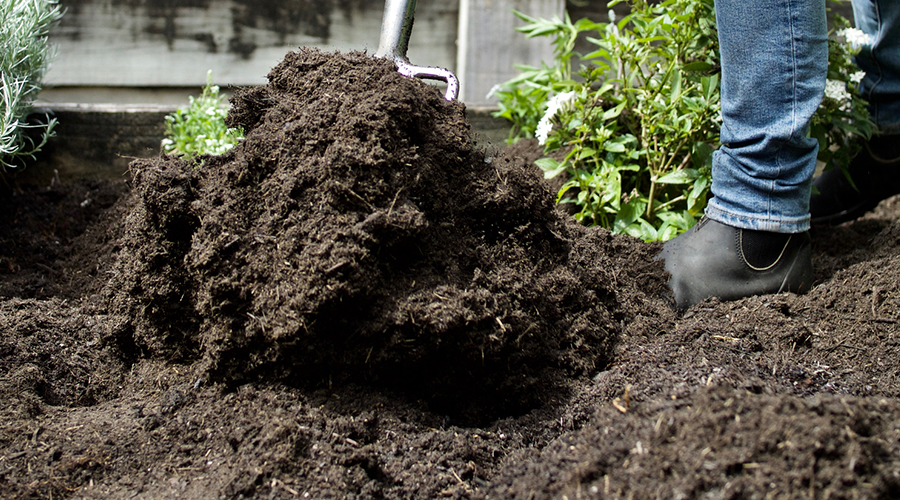
Fill the bottom of the bed with a layer of green material, such as tree clippings, and any top earth you may have dug when preparing the base area. Fill in the rest of the frame with layers of potting mix, compost and/or a garden mix until you’ve filled it to about 50mm from the top of the bed.
If you are putting in a watering system, ensure to lay this on before covering it with earth at the very top.
Once your frame is filled, gently rake the mix until it is level, and you’ll be ready to start putting in your first plants!
We hope you enjoyed our guide on creating your very own raised vegetable garden at home. At Hirepool, we have a wide variety of tools and landscaping equipment to help you with your DIY home and garden jobs! Check out our other guides and blogs for your next DIY project and call into your local Hirepool branch to get started, or order your gear online now.