Hire cart - {{ cart.TotalQuantity }} item{{ (cart.TotalQuantity != 1 ? 's' : '') }}
Cart is empty. Add gear you want to your hire cart and review them here.
There are no branches matching your search.
Login to view or create favourites and other benefits.
Register to start speeding up your hire process and keep track of your hire history.
Nice to see you again. We've made a few changes since you were last here.
Pick a colour
Favourites ({{ userFavourites.length }})
Add your frequently hired items to easily view and hire them again.
Keep your contact information with us up to date so you get the latest and best rates with us.
Hire cart - {{ cart.TotalQuantity }} item{{ (cart.TotalQuantity != 1 ? 's' : '') }}
Cart is empty. Add gear you want to your hire cart and review them here.
A mini excavator, or small digger as it’s sometimes known, has many different practical applications. Given how you can change the attachment to fit the task, you can imagine why our diggers for hire are hot property. One of the most common uses for a small digger is digging holes and earthmoving. At Hirepool, we have a range of earthmoving equipment available, including the versatile mini excavator.
A mini excavator makes it easy and quick for you to pick up soil. Yes, it does save your back from manual digging. However, if you don’t know how to dig a hole with small digger properly, you could end up causing more damage than good. We do have an advanced gear guide on excavators. However, this guide will unearth the best way to dig a hole specifically. Let’s get started!
Low Stock Call First
High Demand Product: We suggest making a booking for this item in advance.
Low Stock Call First
High Demand Product: We suggest making a booking for this item in advance.
Low Stock Call First
High Demand Product: We suggest making a booking for this item in advance.
Low Stock Call First
High Demand Product: We suggest making a booking for this item in advance.
Before we dig down into the excavator advice, it’s important to go over a safety disclaimer. At Hirepool, we’re not experts in excavator regulations and usage. In saying that, we have followed all of the safety regulations from the manufacturer’s specific manuals that have been provided. For more general safety advice for when you hire a digger, read our top tips for excavator safety on the job site. Whether you work in the building and construction industry or you’re landscaping at home, safety needs always to be top of mind.
At Hirepool, we have a wide range of excavators, including our popular mini excavator options. Each of these is maneuverable and perfect for using in tight spaces. Each mini excavators comes at a different weight and size, so that you can choose the best option for the job at hand. Whether landscaping at home or a larger digging job, we’ve got your covered. We also have a battery-powered option that has our eco label. Our small digger hire options include:
If you’re unsure which mini excavator or small digger is right for your earthmoving job, read our guide that explores what excavator you need for your job. Otherwise, your local Hirepool team will be happy to point you in the right direction.
As mentioned, there are many jobs you can do smarter when you hire a digger. Where you can dump material will depend on what you’re digging up, to begin with. The most common use for a mini excavator is digging up soil, so we’ll cover where to dispose of that.
There are specific fill sites across New Zealand, depending on how contaminated the soil is. For example, soil that is heavily contaminated needs to go to a licensed landfill. Whereas soil that is not contaminated with any kinds of chemicals can go to a clean fill site. Soil with no contamination may may also be able to be repurposed for other uses.
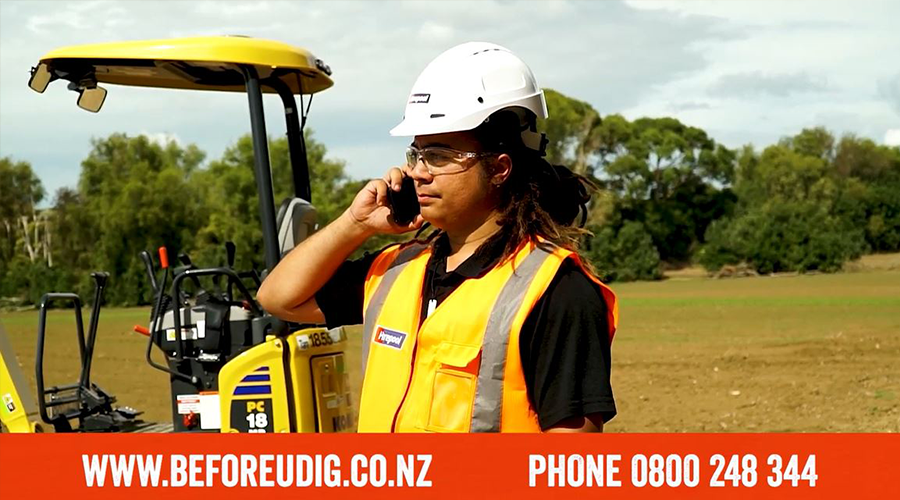
A few days out from carrying out your earthmoving job or even picking up your mini excavator, you’ll want to touch base with beforeUdig. Essentially, beforeUdig can give you all the information you need regarding any cables, pipes or other infrastructure that’s under the ground where you plan to dig. A quick phone call to them could prevent an expensive headache. You can phone beforeUdig for free on 0800 348 344.
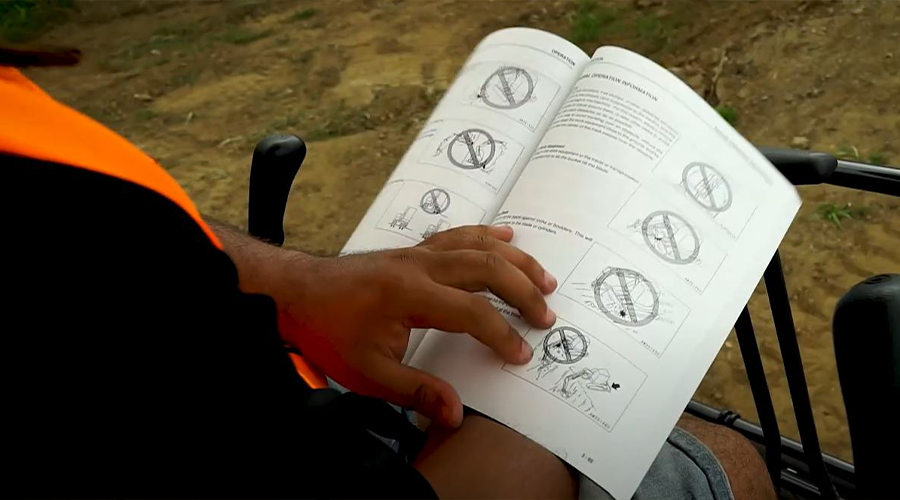
Before you even attempt to power up your mini excavator or small digger, it’s essential that you read the safety instructions for use. These instructions will come with the contract when you hire a digger. However, if you want to get them on your phone, you can scan the QR code that’s on the green tag on your piece of hire equipment.
The instructions for use will cover pre start safety checks, operation instructions and what to do when you’ve finished the job. At this stage, you should carry out the specified pre start safety checks.
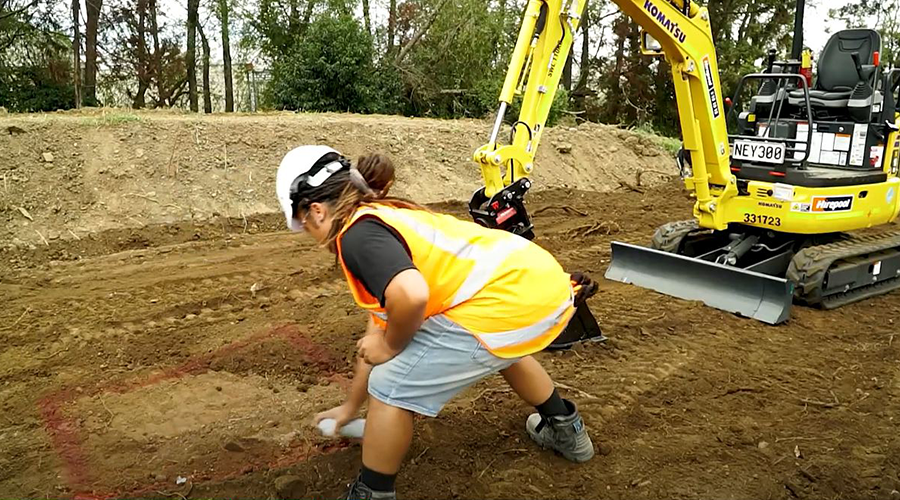
No matter the mini excavator in NZ that you’re using, you need to plan the dig as much as possible. Planning the flow of the dig will help you to avoid any double handling so that the dig is efficient as possible and you avoid mistakes. To do this, it can be smart to mark the area you wish to dig with a light-coloured paint spray. You’ll also want to establish where you’re going to be dumping excess soil.
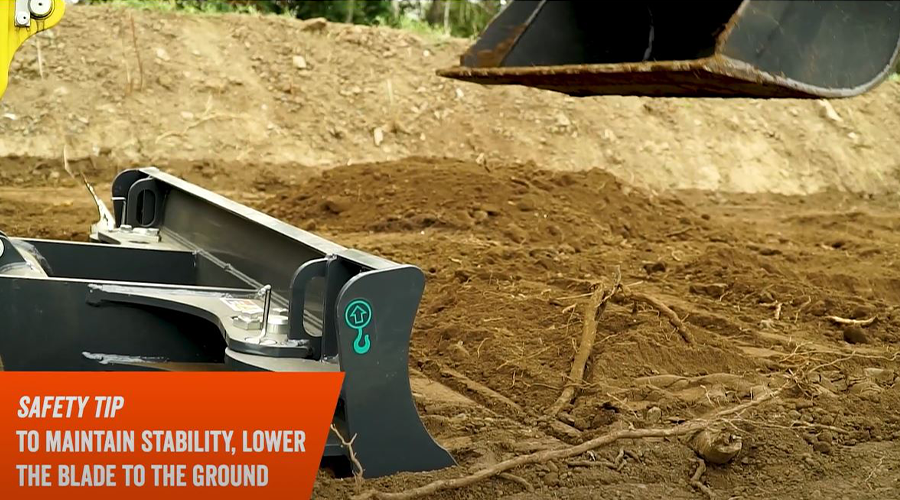
Before digging, you need to set yourself up. To maintain stability as you use the mini digger, we suggest lowering the excavator blade to the ground. Generally, the deeper the hole you need to dig, the closer the machine needs to be to the hole you intend to dig.
It’s worth noting with nearly every digger in NZ it will stay stable even if you aren’t perfectly centred. In saying that, if you’re new to using a mini excavator, it’s best to keep the cab of the machine square until you’ve had a bit of time getting used to the gear. If used incorrectly, a mini excavator can be a dangerous tool, not just for you but also for those around you.
Unless you hire a digger all the time and have alot of experience, we highly suggest that you don’t try to drive and dig at the same time. To prevent accidentally doing this, you’ll want to remove your feet from the foot pedals before attempting to dig.
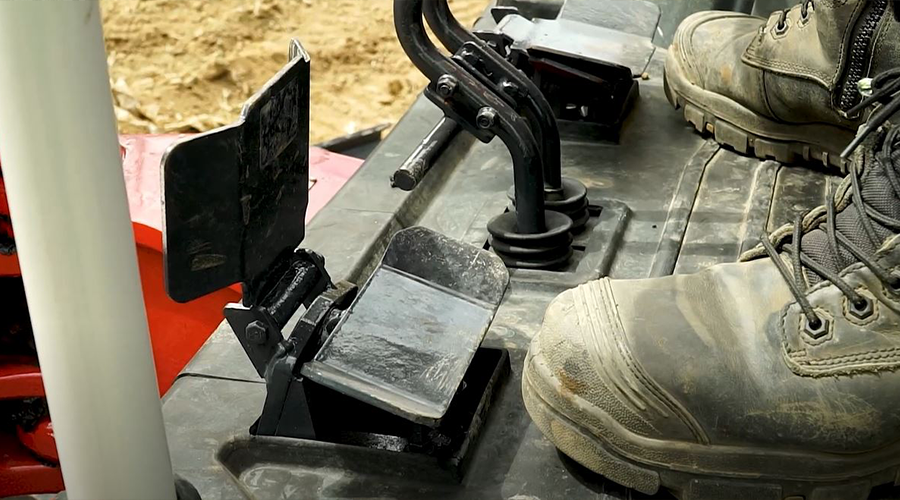
Now, you’re ready to dig. Using the left and right joysticks in the cab, you’ll now want to extend the bucked out in front of you. This is the optimal position to start your dig. In saying that, you don’t want to dig with the bucket fully extended, as this can cause dirt and debris to get into the joints. Over time, this may damage the mini excavator.
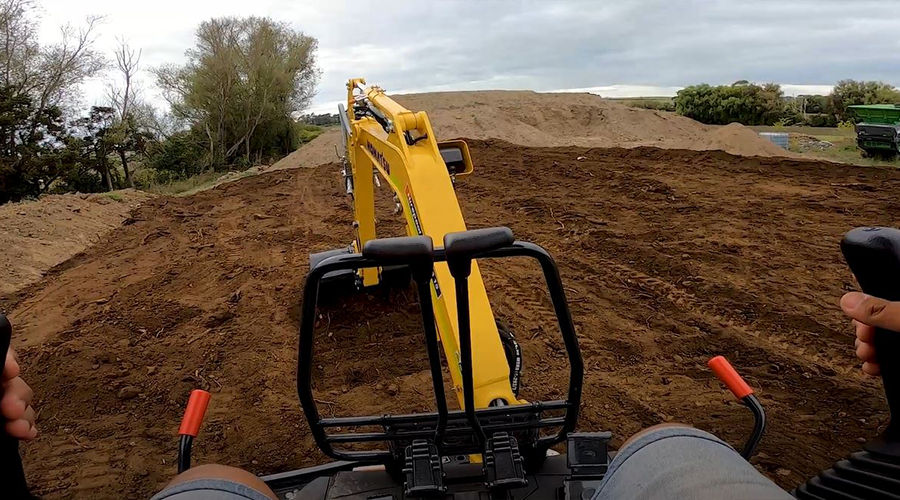
Lower the boom until the bucket is into the dirt. Once the bucket is in the dirt, curl it towards the machine. When the bucket is almost closed and full of dirt, the soil will begin to bulge. At this stage, stop curling and lift the boom up. Now, you’ve completed the scoop. New Zealand features many different types of landscapes, so take your time on those first few scoops.
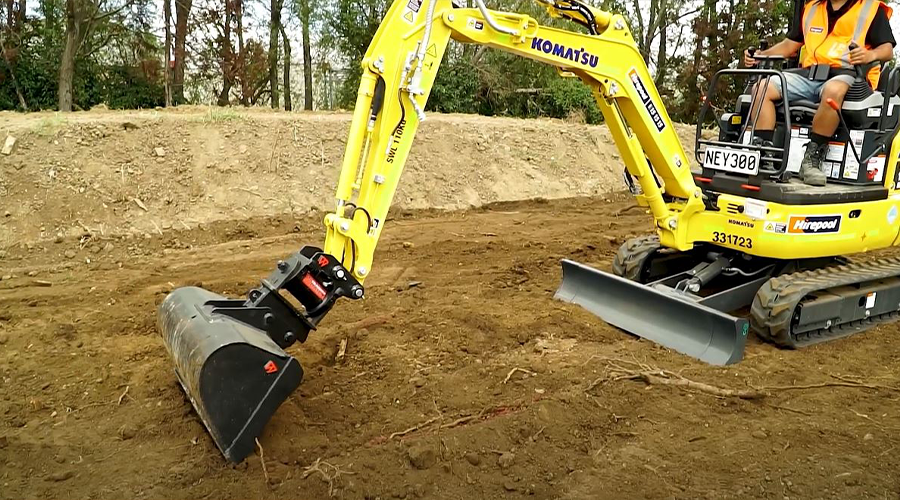
Once you have a scoop full of dirt, rotate the cab or the boom in the direction of your pre-determined dumping spot. You’ll then of course need to complete this process as many times as is required to complete your dig. It’s then essential that you dispose of the soil and material correctly.
There you have it! You can now dig holes with a mini excavator. This guide and video can be handy to refer back to you whenever you need a refresher on digging best practice.
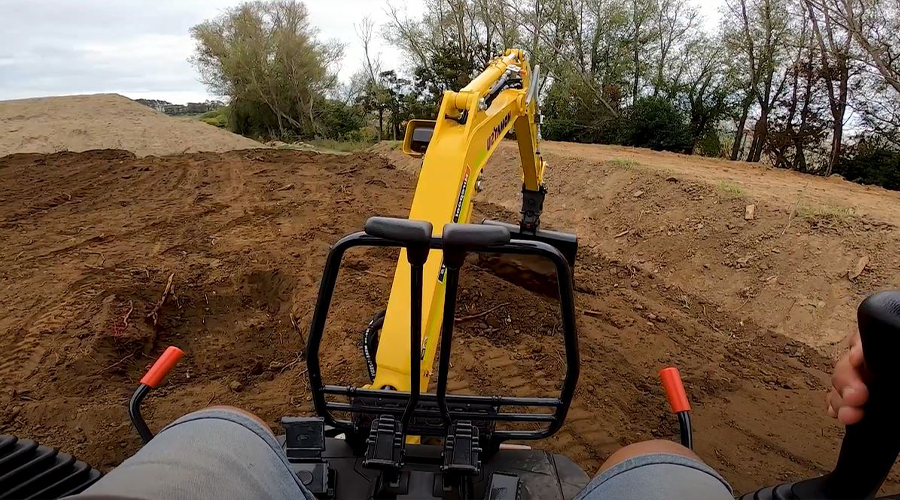
A mini excavator is a versatile and time saving piece of equipment. Especially when it comes to earthmoving, the bucket attachment can help you to get stuck in the smart way. If you want more information about your mini excavator before or after hiring, feel free to reach out to your local Hirepool team. They’ll be able to answer any questions and provide pointers.
At Hirepool, we’re proud of our range of mini excavators and earthmoving equipment. You can book what you need to hire online now, and then pick it up from your local branch. If you require a trailer for transport, we also have a range of options to get you from A to B. For other general tradie advice and gear guides, be sure to check our Trade Hub. Some of our popular guides to read include: