Step 4. Prepare the wallpaper steamer
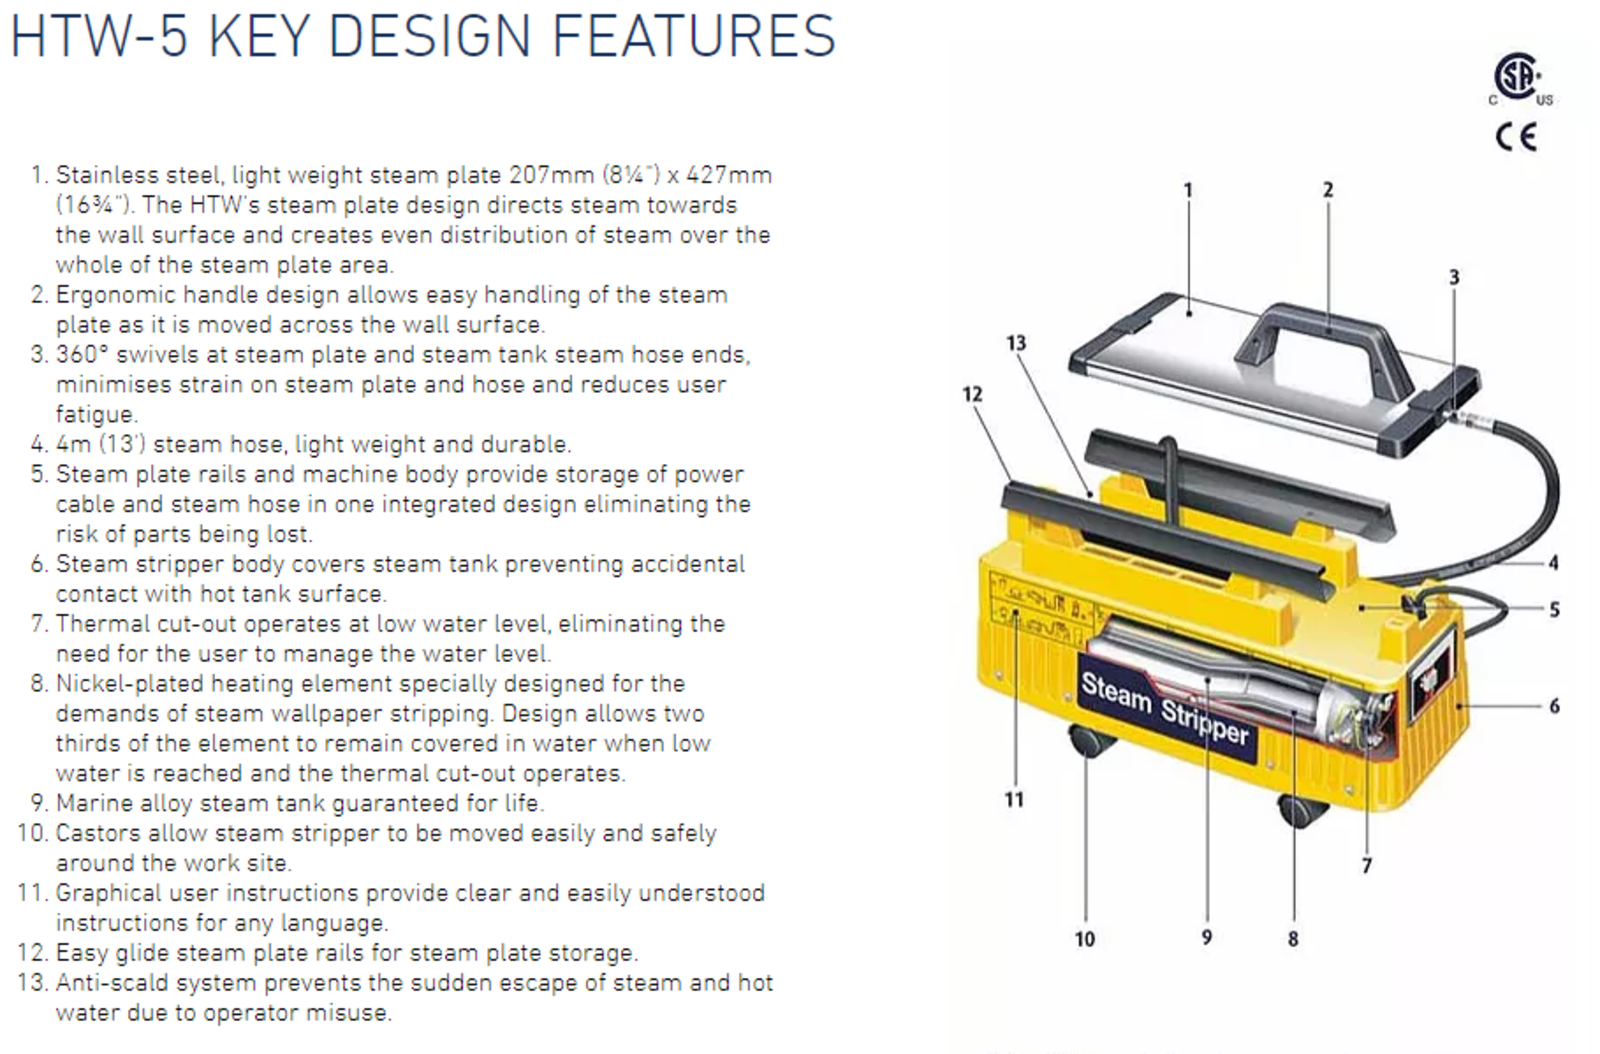
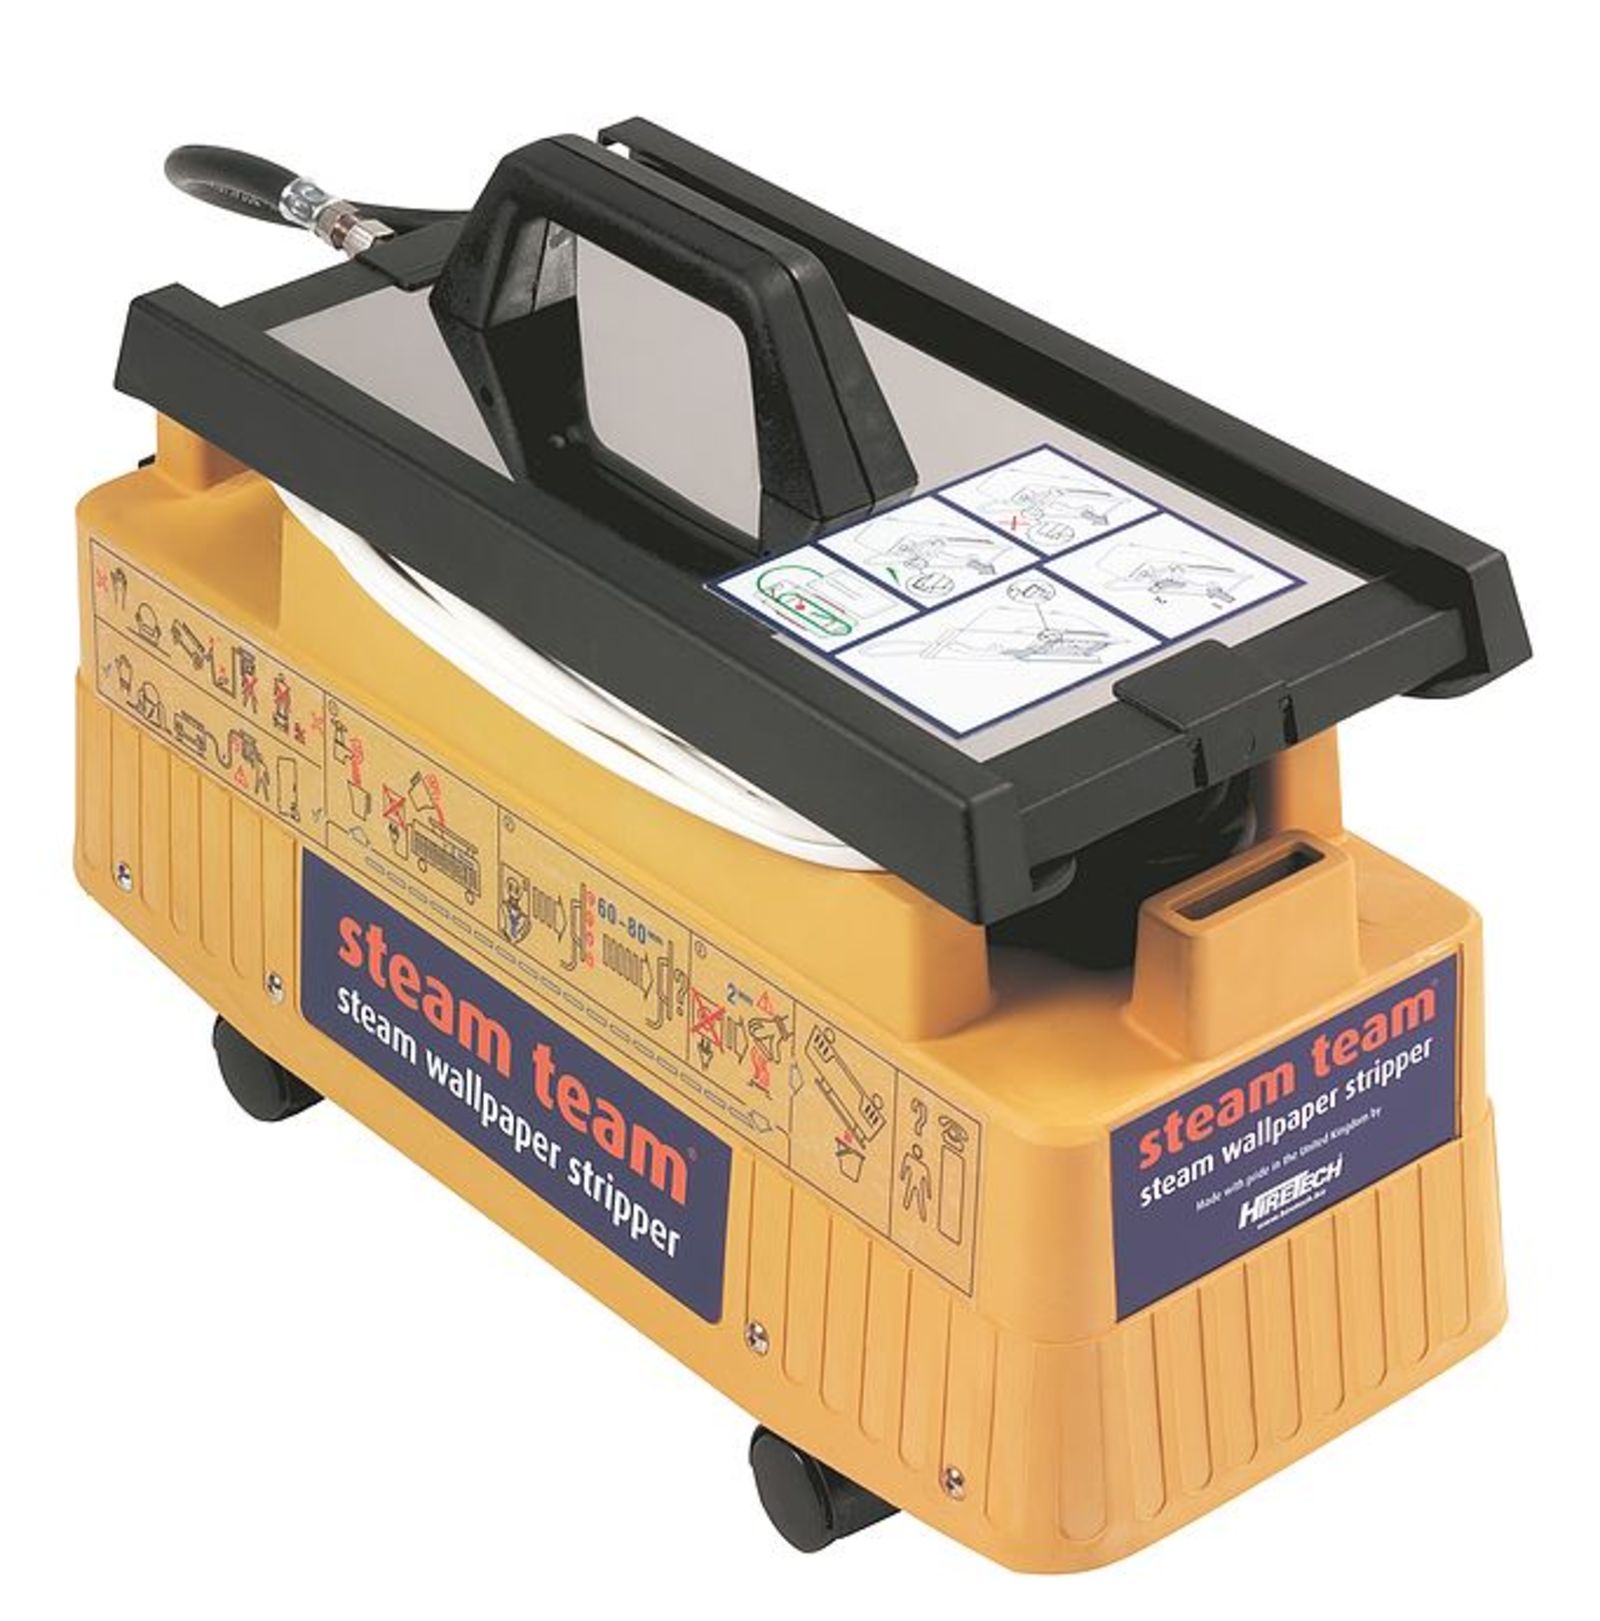
Once your room has been properly prepared, you need to set up your wallpaper steamer. To do this, first, place the steamer on the floor or a stable level work surface near the wall that will be stripped.
Remove the steam plate and lay out the steam hose and power lead. DO NOT plug it into the power supply.
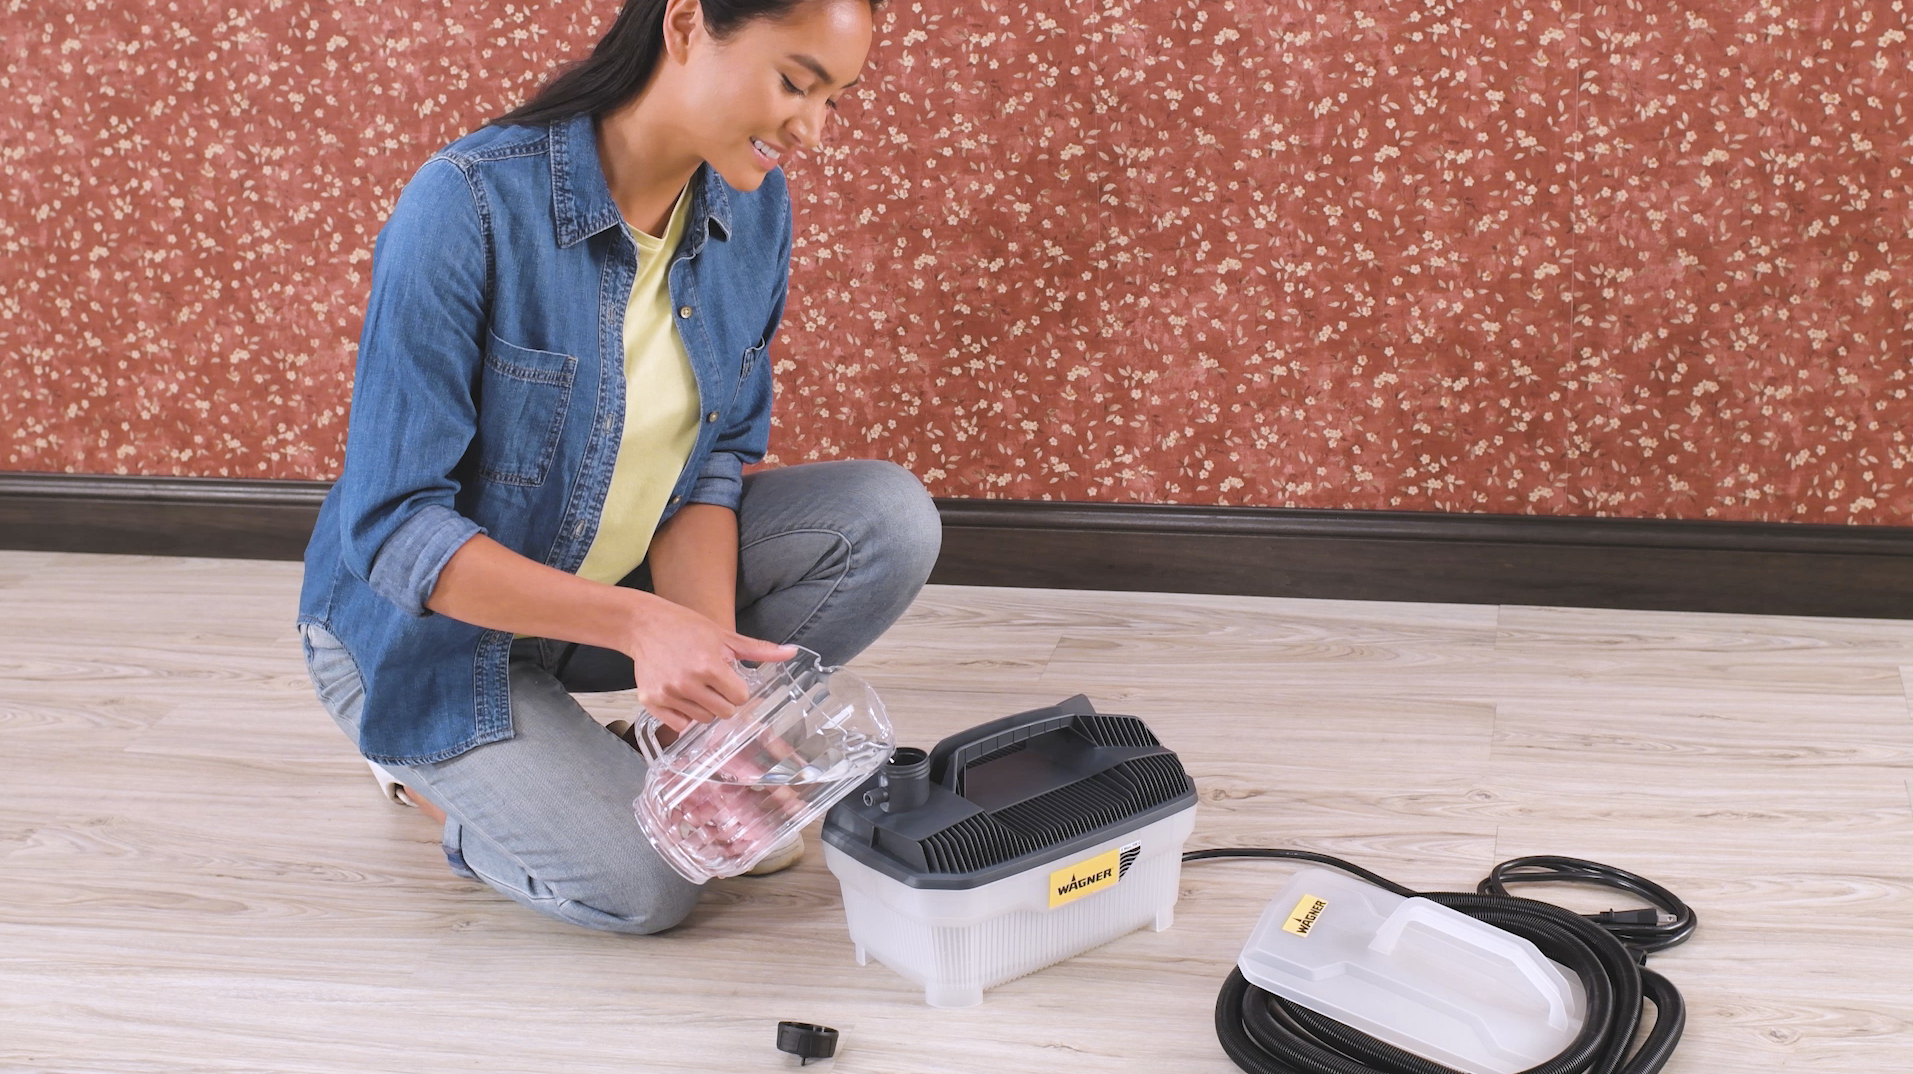
While it’s unconnected to the power, remove the filler cap and fill the water tank with clean hot or cold water until it’s five centimeters from the top of the tank or to the full line indicated. Be careful not to overfill and then replace the filler cap tightly. (It won’t make much of a difference if you use cold or hot water, the steamer will heat up the water regardless).
Once you’ve done this, place the steam plate face up in a bucket or work surface. The tarpaulin or drop sheet will protect the floor/surface from condensation. Or, you can also pop the plate in a bucket or large plastic container, ready to collect water produced from condensation as the water is heated up.
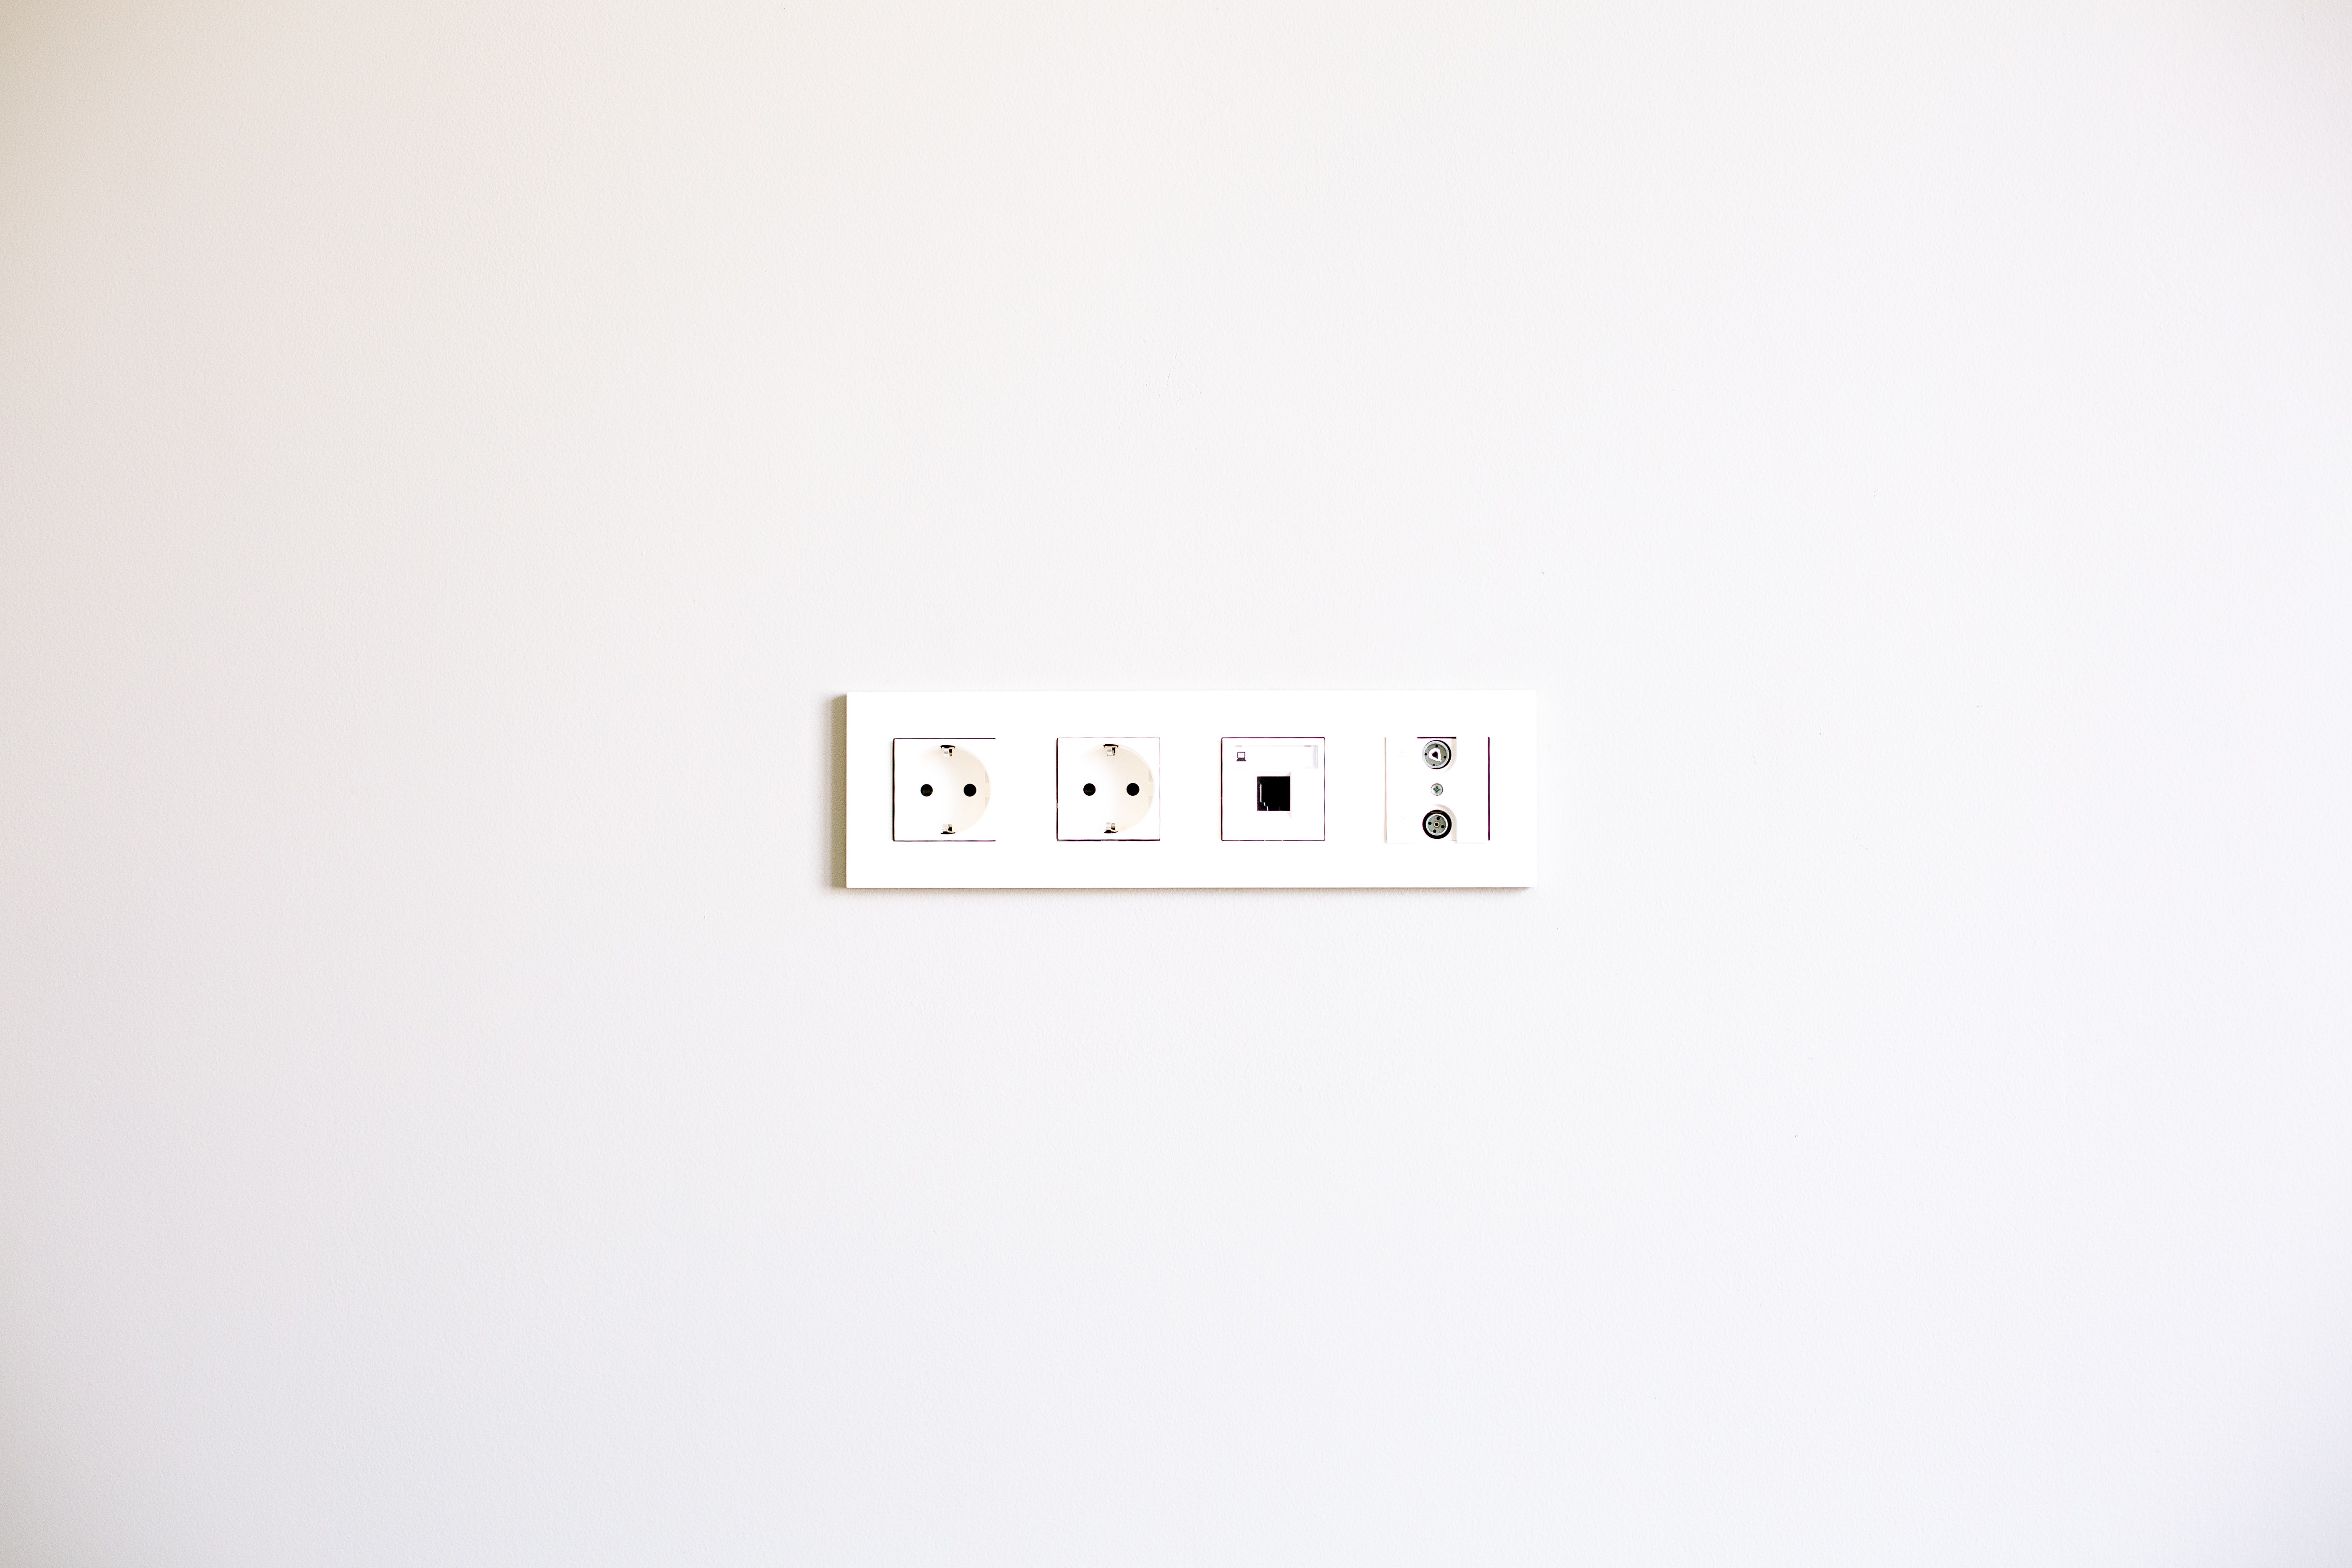
Once you’ve done the above, it is safe to plug in the steamer. We recommend you use an extension cord and plug the plate into the power supply outside of the room you’ll be working in. This ensures no water can get into the outlets while you’re working.
The steamer will turn on automatically and start to heat the water. It will take approximately 10-30 minutes to start producing steam.