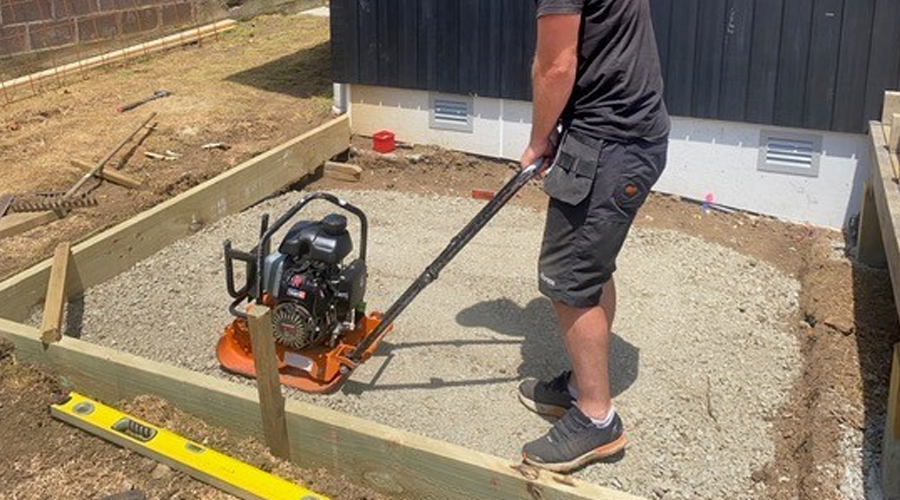
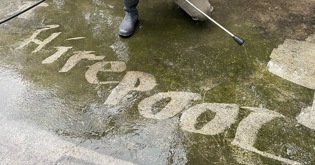
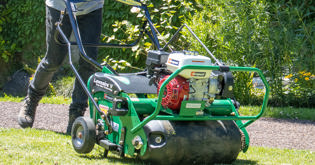
As you can see, there’s a pretty sizable list of gear you need to lay paving stones and pavers. One way to save money on the upfront cost of buying gear is to hire equipment from Hirepool. Whether you need a concrete saw, concrete mixer or compactor to hire, we’ve got you sorted. For most people, laying paving stones and pavers in NZ is not a job that’s done every weekend. So, it makes sense to hire instead of buying the required tools. All the materials needed to lay pavers or paving stones are available to buy at your local outdoor store.
Supplies
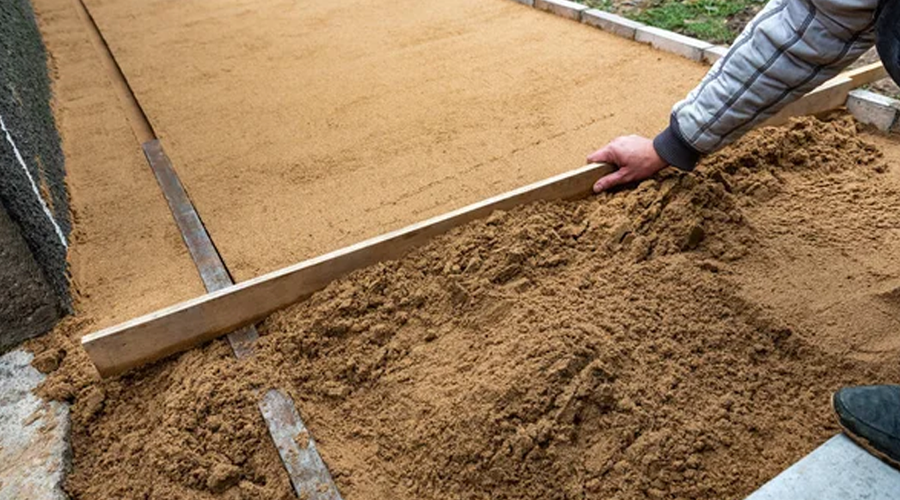
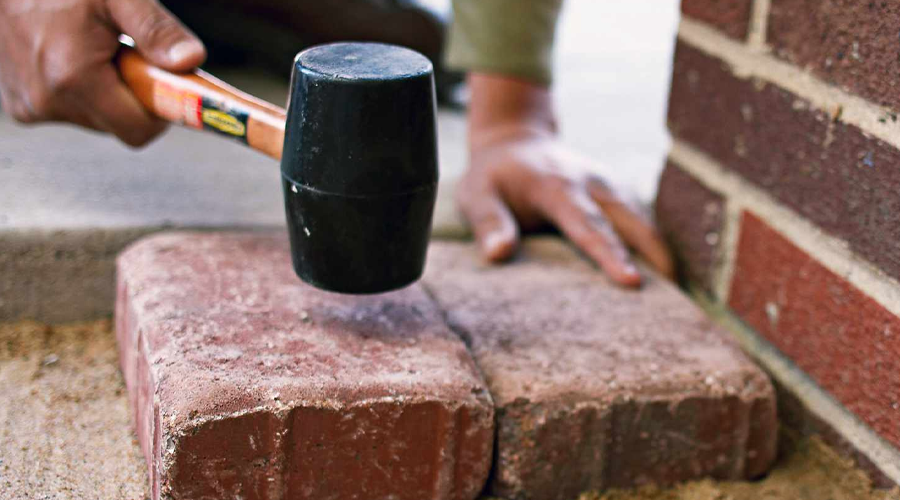
- Bedding sand
- Pavers or paving stones
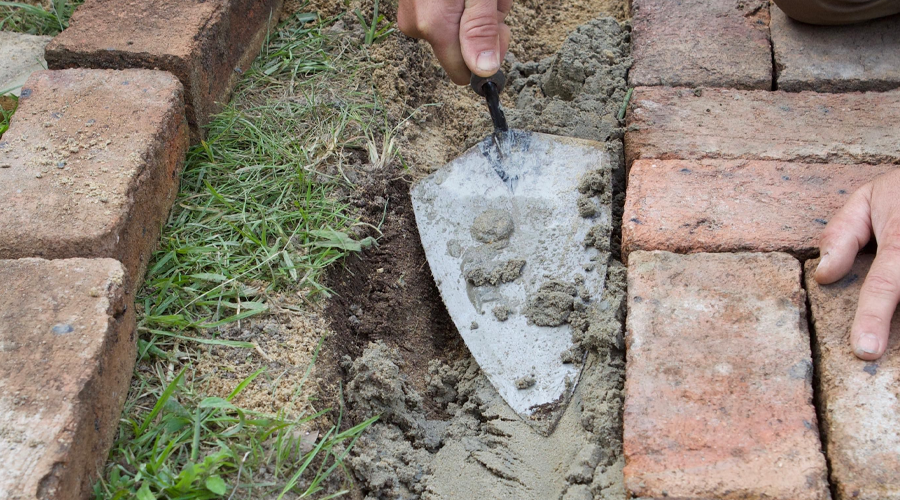
- Pave-set
- Base course
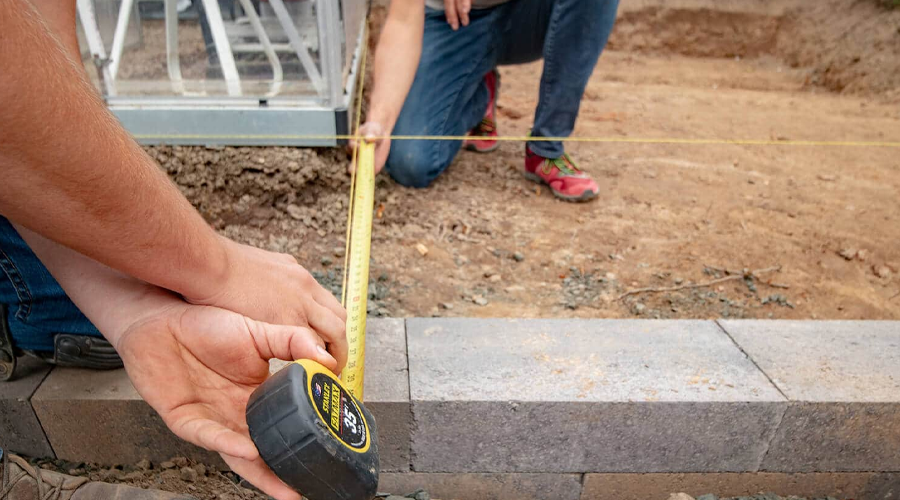
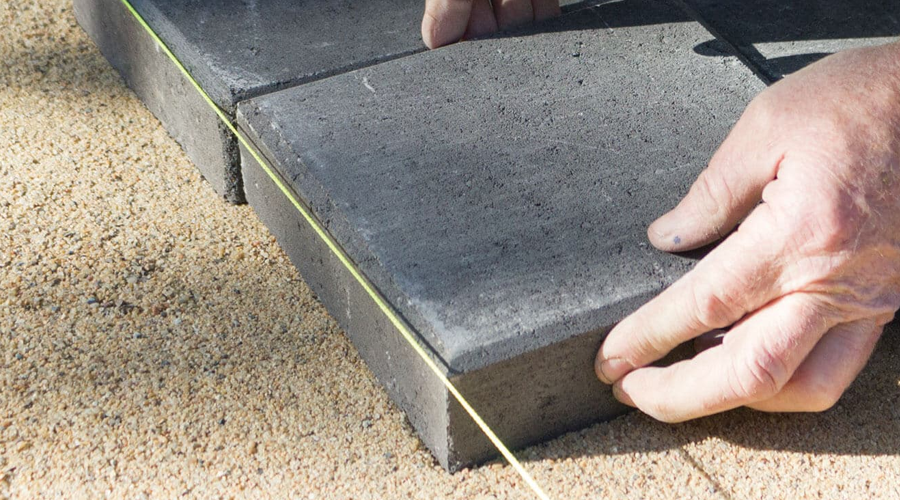
- String line
- Nails
Benefits of laying pavers and paving stones
There’s nothing like relaxing on a hot summer's day under the shade with friends and family on your patio. There are many reasons why pavers and paving stones in NZ are so popular. In fact, they’re so popular, that Kiwis choose to use this method for their driveways in some cases too.
Easy to lay
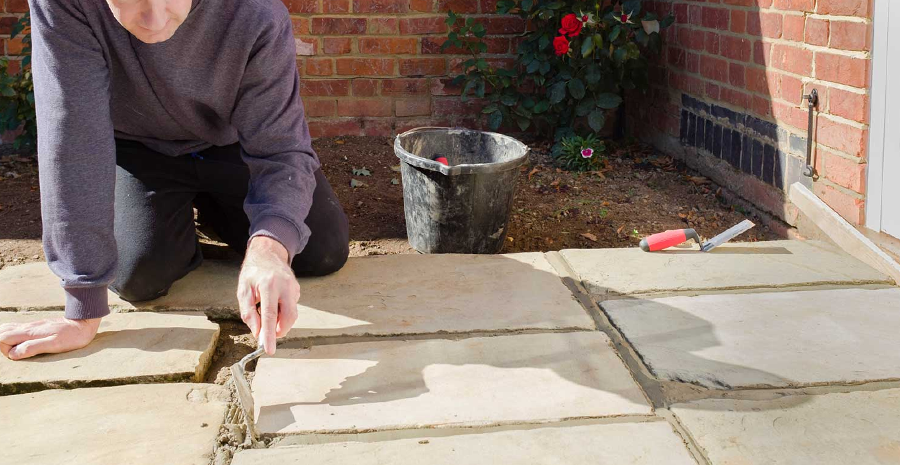
We wouldn’t be writing this how-to guide if we didn’t think a weekend DIYer could do this job. With the right equipment hire, laying pavers or paving stones is a job you can easily knock on the head in a day, depending on how big the space is that you’re working with. Getting on the tools yourself is also a great way to save money you would’ve spent on a contractor.
 Source
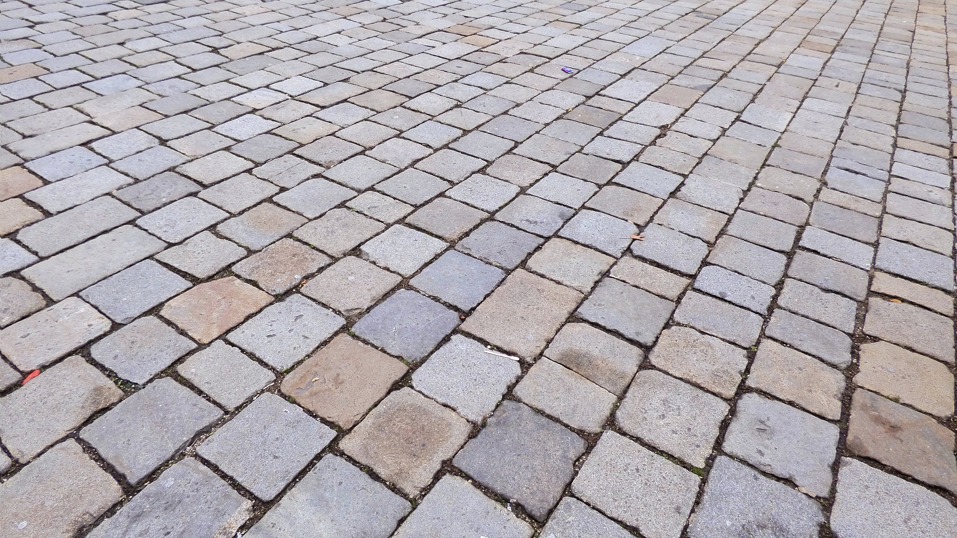
Looks
There are many options for laying a path, patio or driveway. Depending on your taste, you may prefer a certain style, shape or pattern of pavers. Although paving stone trends may change over the years, whichever you choose, you can be sure that your new path or patio will have a smart and sophisticated look. For more inspiration, read our blog that explores 10 DIY ideas for a better backyard.
 Source
Durability
Not all pavers and paving stones are created equal. In saying that, if you spend the money to get a good quality option, you can rest assured that they will stand the test of time. Some popular types of pavers include:
Because of their durability, pavers and paving stones are commonly used for driveways or areas with high foot traffic. For more advice to do with driveways, read our guide called driveway DIY, what you should know.
 Source
Council regulations
Depending on where you’re located in New Zealand, you may need to follow your local council’s regulations for laying a new driveway, patio or pathway. It’s also worth noting that if you need to dig down to make room for your new pavers or paving stones, you should check the council plans for your property. That way, you’ll avoid hitting a pipe or any wires.
Top tip: If you’re needed to demolish an old concrete pathway to make way for your new pavers, we’ve got the gear to help you get the job done at Hirepool. We have a wide variety of concrete breakers and concrete saws to make light work of demo work.