Hire cart - {{ cart.TotalQuantity }} item{{ (cart.TotalQuantity != 1 ? 's' : '') }}
Cart is empty. Add gear you want to your hire cart and review them here.
There are no branches matching your search.
Login to view or create favourites and other benefits.
Register to start speeding up your hire process and keep track of your hire history.
Nice to see you again. We've made a few changes since you were last here.
Pick a colour
Favourites ({{ userFavourites.length }})
Add your frequently hired items to easily view and hire them again.
Keep your contact information with us up to date so you get the latest and best rates with us.
Hire cart - {{ cart.TotalQuantity }} item{{ (cart.TotalQuantity != 1 ? 's' : '') }}
Cart is empty. Add gear you want to your hire cart and review them here.
Putting in drywall (some refer to it as plasterboard) is a job that people rarely consider for DIY potential. It can be a difficult job, and without the proper equipment, it can be potentially dangerous.
In this guide, we’ll go over the entire process of putting in drywall, specifically in your ceiling. We will cover the equipment you’ll need, the preparation process, the materials you’ll need and finally, the proper technique for fitting your drywall.
There are a few unique methods and pieces of gear you’ll need for this job, but after you’ve finished, you’ll have gained a skill that you can use again and again.
Low Stock Call First
High Demand Product: We suggest making a booking for this item in advance.
Low Stock Call First
High Demand Product: We suggest making a booking for this item in advance.
Low Stock Call First
High Demand Product: We suggest making a booking for this item in advance.
Low Stock Call First
High Demand Product: We suggest making a booking for this item in advance.
Low Stock Call First
High Demand Product: We suggest making a booking for this item in advance.
Putting in drywall requires a few fairly common DIY tools, along with several unique pieces of gear that you might not have used before.
In particular, utilising a drywall lifter is much quicker and easier than lifting your drywall by hand. You are able to achieve a greater level of accuracy, and the final result will be greater in quality overall.
If you don’t have some or all of these items, your best option is to hire them from Hirepool. All of our equipment is immaculately kept and maintained, so you’ll get peak performance out of the gear every time. Another benefit of hiring is that you won’t have to store the equipment after you’ve used it, which is a huge advantage - especially regarding larger pieces of gear such as the drywall lifter.
Before you get into the actual job of drywalling a ceiling, it is important to make sure you follow the correct procedure for preparing your job, tools and materials.
Correct preparation will ensure the final product of your job is of the highest quality, plus you’ll avoid any unnecessary accidents or injury by following the correct way of doing things.
Make sure you follow every step of this guide carefully to ensure an optimal result. It is recommended that you enlist the help of at least one other person to help you with this job. Having others on hand is valuable for assisting in providing feedback from different angles, helping with things like lifting and assembling equipment, and mutual quality checking.
It is important to inspect the ceiling to make sure there are no electrical wirings, ductwork, pipes or obstructions in the way of your drywall ceiling installation. You should also ensure that the ceiling has been insulated tightly, so as to not cause any damage to previous work that has been done.
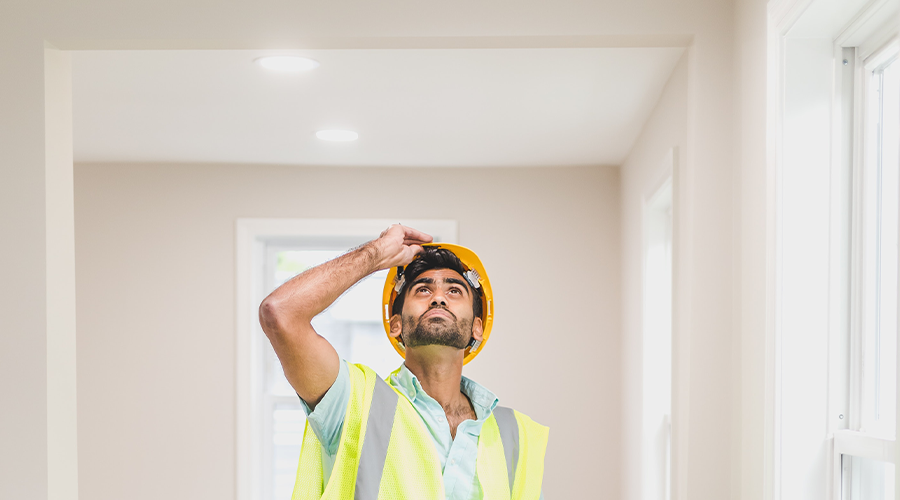
First of all, it’s important to assemble your drywall lifter. This device is often disassembled for transportation. Once you unpack it, make sure you follow the instructions on how to put it together. After you’ve done this, wheel the machine into position. Lock the wheels in place and extend the lifting arms. Extending the arms may only be necessary if you are working with larger pieces of drywall.
Make sure you read equipment manuals and follow safety guidelines - every precaution taken before you start your job will contribute to the overall quality and safety of your work.
Make sure you put on your safety gear (dust mask, footwear, eye protection) before you start.
Make sure the floor where you will be using the wallboard lifter is even and clear of cords and any other trip hazards. Once these are removed, check the floor for any other obstructions before you start your job.
Ensure any housemates, children or pets won’t interfere with your job while you are working - let anyone else who lives in the house know about your work before you start
When all your equipment is in the position, it’s time to start putting on your drywall adhesive. Apply your ceiling drywall adhesive to the ceiling joist/s, taking care to cover as much of the surface as possible.
Be careful to not over or under apply your adhesive - too little and the drywall may start to separate from the joists over time, too much and there will be overspill once you lift your drywall into place.
Using the latch in the middle of the wallboard lifter, move the lifting ‘table’ so that it is at a more vertical angle. This will make for easier loading of the drywall sheets once you start lifting them into place. Once your lifter is ready to go, you can proceed with loading it up.
To load your drywall lifter, flip the curved metal ‘feet’ down and carefully load the wallboard onto the lifter. The drywall should be resting on the feet, and it should be positioned centrally in the lifter. Make sure the back of your drywall sheet is facing out before you proceed with lifting it up.
Be careful handling the drywall so as to not break it. The excessive strain of bending of drywall will break it in half and can render it unusable.
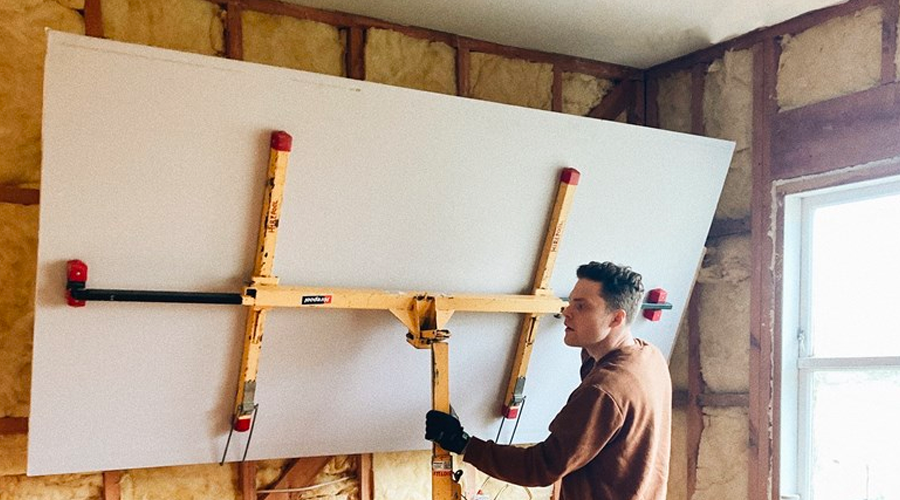
Once your drywall lifter is loaded, flip the lifter table so that it is horizontal and ready to raise up to the ceiling. Make sure your work area is clear before you lift so as to avoid accidents or injuries to yourself or those around you.
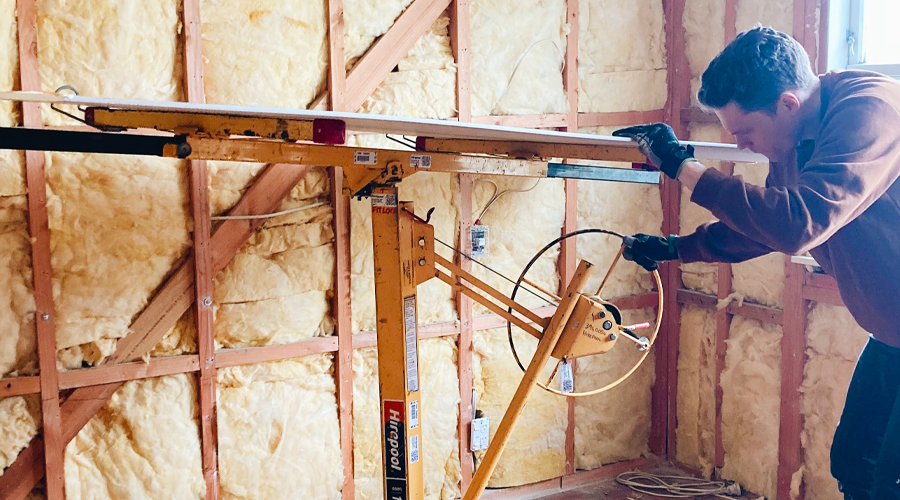
Once your drywall lifter is loaded, slowly and carefully crank the wheel to lift the wallboard up and into position. Be careful not to overextend the lifter - this will push your drywall into the joists harder than necessary and possibly cause damage to them.
Once your drywall has been lifted into position, screw the wallboard into place carefully. Be sure to screw into the ceiling joists using the screw gun and appropriate fasteners - missing the joist when screwing through the drywall will leave undesirable holes in the final product.
Continue lifting your sheets of ceiling drywall into place, making sure the sheets of drywall are staggered at the seams, and the tapered edges are against tapered edges of other sheets. If done correctly, the result should be a neat finish that is ready for plastering, painting or other treatment.
Finally, once all of your drywall has been secured into place, cut around marked lights/electrical sections, as well as your marked out vents and fixtures. After this is done, you should be able to easily install these utilities without any trouble at all.
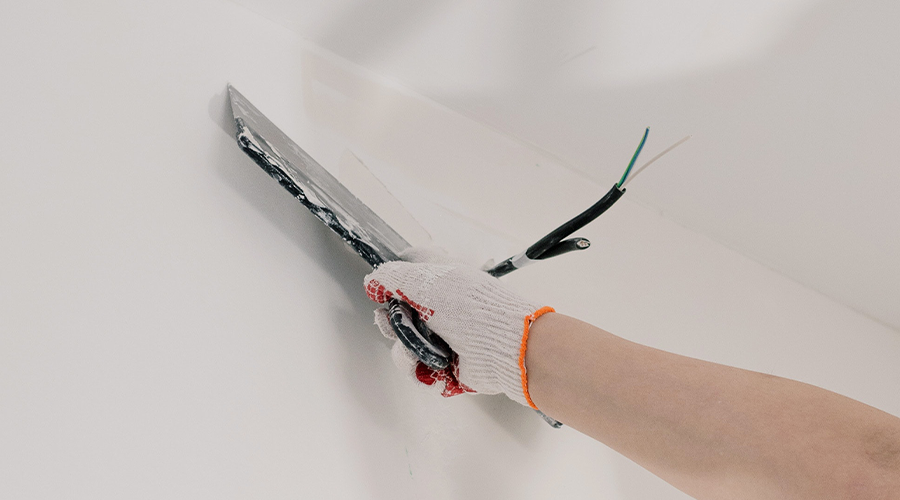
Fill the small recesses between the drywall boards with an appropriate jointing compound, using a broad knife to smear it into place. This gives a seamless, smooth finish that is easy to paint over. Apply long strips of joining tape to the compound, then press into the compound with a pallet knife (or similar) and run the knife along the tape at a 45-degree angle to remove any trapped air bubbles beneath the tape.
After you have done this, apply a thin coat of compound over the surface of the tape immediately after to stop the tape curling and wrinkling. If this occurs, it can lead to unwanted cracking at the edges.
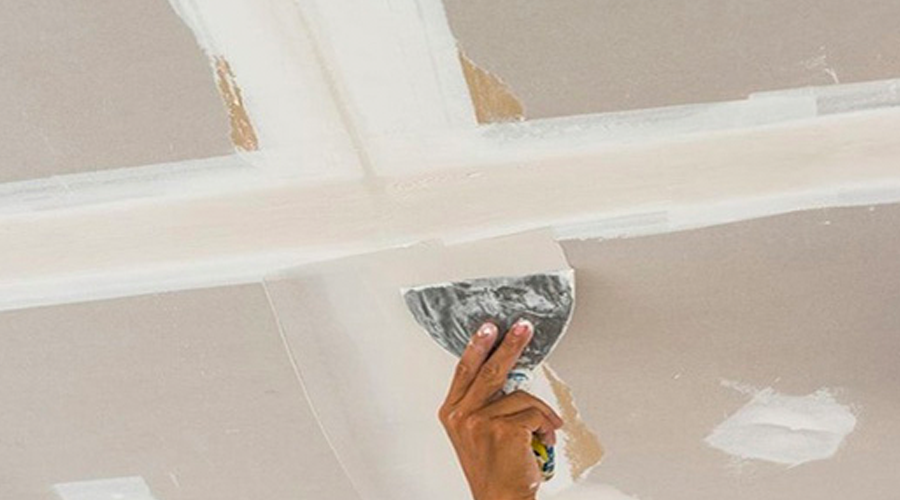
Using the same compound, plaster over the screw heads to get an even finish over the whole surface area. Once dry, lightly sand over screw heads by hand and, if working on a tall ceiling or large room, use a wallboard sander to sand the ceiling for a smooth finish before painting.
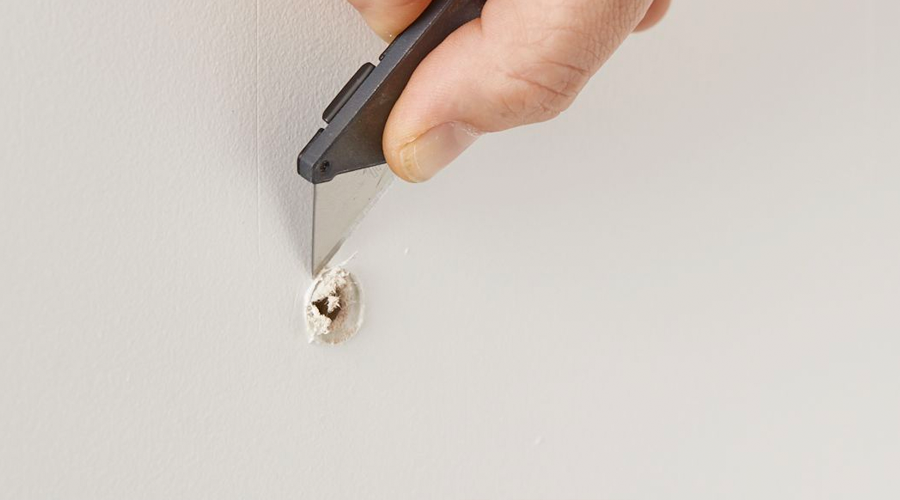
Once the ceiling surface has been sealed with compound and sanded, it is time to prime and paint it. Make sure you do this while following the product specifications for the best results.
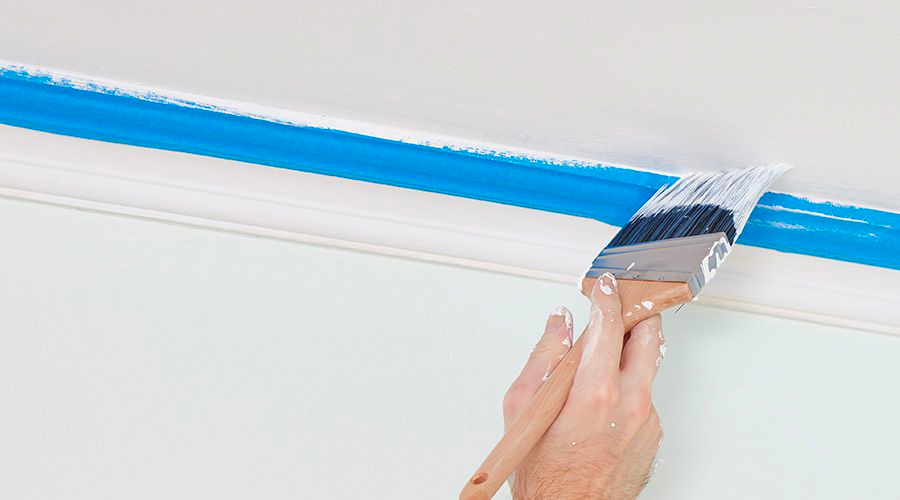
Ready to tackle this project and install your ceiling drywall? At Hirepool, we have a variety of tools and equipment to help you line your room and ceiling the easy way. Few realise the potential for carrying these jobs out themselves, and with hire equipment, it couldn’t be easier. Save your back and wallet by hiring all the gear you need for your project at Hirepool. Order gear online or drop into your local Hirepool branch.
For advice on how to plaster GIB® plasterboard and other wallboards, read our helpful guide.
Low Stock Call First
High Demand Product: We suggest making a booking for this item in advance.
Low Stock Call First
High Demand Product: We suggest making a booking for this item in advance.